Showing posts with label vscocam. Show all posts

March 20, 2015

Spy-hopping
MZD 45mm f/1.8
After a long while on land enjoying Florida's mild winter, I was shipped back out to the Western Neptune for work. I was introduced to this vessel during the Fall of last year and published some photos from the trip here. In this field it is always nice going back to a familiar ship because you "know the ropes" and preparing for the voyage is easier. However, when it comes to photography, it is difficult to document the same scenery and still keep things interesting. I am always up for a challenge though and no matter what the situation, try to dedicate a couple of hours every week to practice this craft. I decided to leave my OMD EM5 home this trip and spend some quality time with the Panasonic GX7. It is the absolute perfect offshore camera due to its native 1/8000 shutter speed for those extra sunny days. In addition, it is small and becomes extra inconspicuous when switched to silent mode. Since I almost always shoot from waist level with the articulating screen up, I'm sure the people I encounter while shooting think, "Wow, he still hasn't figured out how to use that thing". ;) Hope you enjoy this set. -Sam

If you live in, or are traveling to Florida and would like to schedule a photo-shoot, I am currently offering portrait services in and around Central Fl. Check out more of my work at www.samgoldphotography.com

Daily Notes
OM Zuiko 35mm f/2.8 + generic focal reducer

Calm Before the Storm
Lumix 14mm f/2.5
Port Wing
Lumix 14mm f/2.5

Foam System
OM Zuiko 35mm f/2.8 + generic focal reducer

Geometric
Lumix 14mm f/2.5

High Seas
OM Zuiko 35mm f/2.8 + generic focal reducer

Almost Symmetrical
OM Zuiko 35mm f/2.8 + generic focal reducer


Wheelhouse
Sigma 60mm f/2.8

NSDB
OM Zuiko 35mm f/2.8 + generic focal reducer

Vignette
Lumix 14mm f/2.5

Communications
Lumix 14mm f/2.5

Panorama
Lumix 14mm f/2.5

Saltspray
OM Zuiko 35mm f/2.8 + generic focal reducer
Red
Lumix 14mm f/2.5

Western Geco
Lumix 14mm f/2.5
Gasmask
OM Zuiko 35mm f/2.8 + generic focal reducer

Up, Up, Down, Down, Left, Right, Left, Right, A, B, Start, Select
Lumix 14mm f/2,5

The View
OM Zuiko 35mm f/2.8 + generic focal reducer

Calm Seas
OM Zuiko 35mm f/2.8 + generic focal reducer

Coffee vs. Coke
OM Zuiko 35mm f/2.8 + generic focal reducer

Typing for Two
OM Zuiko 35mm f/2.8 + generic focal reducer

Purple Sunset
OM Zuiko 50mm f/1.4 + generic focal reducer

The Pod
OM Zuiko 28mm f/2.8 + generic focal reducer
Under the Sea
MZD 45mm f/1.8

February 10, 2015


This post comes at an interesting time as the newest (and highly anticipated) camera to grace the micro four thirds platform - OMD EM5 Mark II - was announced last week. Some may consider the Panasonic GX7 old news at this point: it was released over a year and a half ago, its ergonomics, image quality, and applications have been covered by many others, and a very good three part review comparing the GX7 to OMD EM5 has been published by Tyson Robichaud. Here, my goal is to not be redundant but provide some examples of what I like about this camera and describe how it has changed the way I shoot and share images. 


When looked at alone, the GX7 is all the camera an enthusiast photographer could ask for and besides sensor size, it gives entry level and mid range DSLRs a run for their money. It is capable of producing great images and the camera itself is highly customize-able. What attracted me to the camera initially were a maximum shutter speed of 1/8000, the ability to shoot in silent mode and remote shooting/sharing via WiFi. A feature that I found useful after the fact was it's articulating built in flash. It has allowed me to take some product shots which would have required me to use an off camera flash if I wanted the same results using the EM5. The articulating kit flash has also proved useful to me in social settings where I am able to photograph people by bouncing the kit flash off of the ceiling.

For this shot I placed my EM5 on a table covered in black fabric and pushed the table up against a wall. I then used the GX7's articulating kit flash to bounce light off the wall onto the scene. 

I like that ISO, white balance, drive mode and AF area have dedicated buttons on the GX7 vs initially having to remember what each of the unlabeled buttons were assigned to on the EM5. Another great implementation on the GX7 is that you are able to directly toggle between AF and MF. However, I prefer the super control panel of the EM5 over the Q menu of the GX7. The Q menu is still good though and allows you to quickly change a host of  camera parameters without digging into the menu. The tilting EVF is nice but I rarely use EVFs in general unless I am shooting macro or fast moving subjects (usually birds) in which I need to steady the camera using my face. Here, I prefer the EM5 because I have found my nose and other parts of my face change the AF point when I use the EVF on the GX7. Another thing to note is that I like how the GX7 feels in my hand over the EM5 but that the EM5 has a better battery life. I do not see a difference between the two cameras when it comes to image quality, high ISO output or AF when using native lenses - both are great performers.


After using the GX7, one thing that I wish my EM5 had was focus peaking. I know there is a hack, but the real thing is SOOO much better. This feature is great when using legacy lenses and the only instance I found it interfered was when I was trying to manually focus on stars because it got in the way of critically focusing on the extremely tiny point sources.


In regards to astro-photography the GX7 has a one up over the EM5 due to its "constant preview" option (Custom menu 5/8 - switch to ON). Here you are able to "preview the aperture and shutter speed effects on the recorded image". The EM5 does this automatically in Manual exposure mode (M), but the GX7s live view also changes according to the ISO value you choose. I found this to be useful while capturing the heavens because I was able to compose for the shot before taking it. Here, I mount the camera to a tripod and ensure the shutter speed is relatively fast (~1/60) but change the ISO to its highest setting (26,500). This results in a very noise -but detailed enough- preview allowing me to compose using the ball head on the tripod. After composing, I tighten the ball head, lower the ISO back to 200-800, increase the shutter speed (<10 sec) and use remote shooting to capture the scene. I wasn't able to replicate this method with the EM5 and while shooting stars with it I had to "compose blindly".


One thing I found lacking with the GX7 compared to the EM5 is related to differences in magnification modes while shooting. Firstly, I like that I can assign magnification to one of the fn buttons on the EM5. This is not an option on the GX7 and instead magnification mode is automatically engaged when you change the AF area. While using the EM5 (and especially in conjunction with a legacy lens), I usually compose a frame, move the magnification box to the area I want to be in focus, enter magnification mode, engage IBIS by half-pressing the shutter button, focus, and then fully press the shutter button (while the image is still magnified). On the GX7, I have not found a way to replicate this process because once in magnification mode if you press any other button you automatically exit it. This is not a huge problem but I have had to re-train my brain to alter the way I shoot. Now when using the GX7 I skip magnification all together and just compose while relying on focus peaking to guide what I want to be in focus. This does not work all of the time however and when I end up with a slightly out of focus image, the control freak in me wishes I could replicate the EM5 method. 


Undoubtedly, the one feature that has made me fall in love with the GX7 is WiFi!!! It has completely changed the way I share images and streamlined my workflow. As you may have read about in the past on this blog, I use VSCOcam to edit a lot of my photos (reviews here and here). My workflow when using the EM5 involves importing RAW files from my memory card to Lightroom, applying a "pre-VSCO" preset (sometimes I'll edit further), exporting the files as JPEGs and then uploading them to VSCO using the their uploader. After uploading, they automatically sync to my devices (iPad mini and Android smartphone) and I usually share to social media from there. With the GX7, I just shoot, transfer the images to my phone or iPad and directly edit using VSCOcam (and sometimes Photogene - iPad only). The only problem I have encountered with this process is that sometimes the images I upload do not look as good on my computer vs how they look on the lower resolution screens.


The last thing I wanted to mention is that WiFi inspired me to practice portraiture and actually use all of the off camera flash equipment I had lying around (the photo introducing this post is a direct result). Taking self portraits using remote shooting is simple and I am now able to experiment with lighting set ups on myself before involving anyone else.  Practicing with strobes has given me the confidence to shoot other subjects which is invaluable and something that I was not able to do with the EM5. Interestingly, even though the GX7 inspired me to experiment with portraiture, I tried using it during a session with my partner and immediately switched it out for the EM5. This is because I am more familiar with the EM5's buttons and can fully control it using only touch. The EM5 feels more like an extension of my arm that the GX7 but that is only because I have spent a lot more time with it.


It would be awesome to marry what I like about the two cameras into one amazing device but overall, the GX7 is awesome and compliments the EM5 nicely. I enjoy both for different reasons and find myself reaching for the EM5 over the GX7 only because I started my photography journey with the EM5 and it holds a special place with me. Anyone looking to jump into the mirrorless world should definitely look at the GX7 and I would consider it an upgrade from the EM5. Cherry on top is that the GX7 is relatively inexpensive right now- especially considering its MSRP when it was released. For those already invested in the micro four thirds system getting a GX7 as a second body is a no brain-er.

Sam

If you live in, or are traveling to Florida and would like to schedule a photo-shoot, I am currently offering portrait services in and around Central Fl. Check out more of my work at www.samgoldphotography.com

Extra Image Samples


December 05, 2014


Before joining the vessel I am on, I left my phone charger in a hotel room while in transit to the job (I was exhausted from staying up all night trying to get this photo). I felt like kicking myself mainly because I use the VSCOcam app (hereafter, VSCO) heavily on my android phone and almost always edit there before posting to Instagram (@samgoldphotos). I also have the app on my iPad mini but I had only used it a few times before abandoning it completely because the android version was a great deal better. Since I was unable to charge my phone on a regular basis, I grudgingly began to use VSCO on the iPad for photo editing and slowly became accustomed to it. Beggars can't be choosers right?!! 


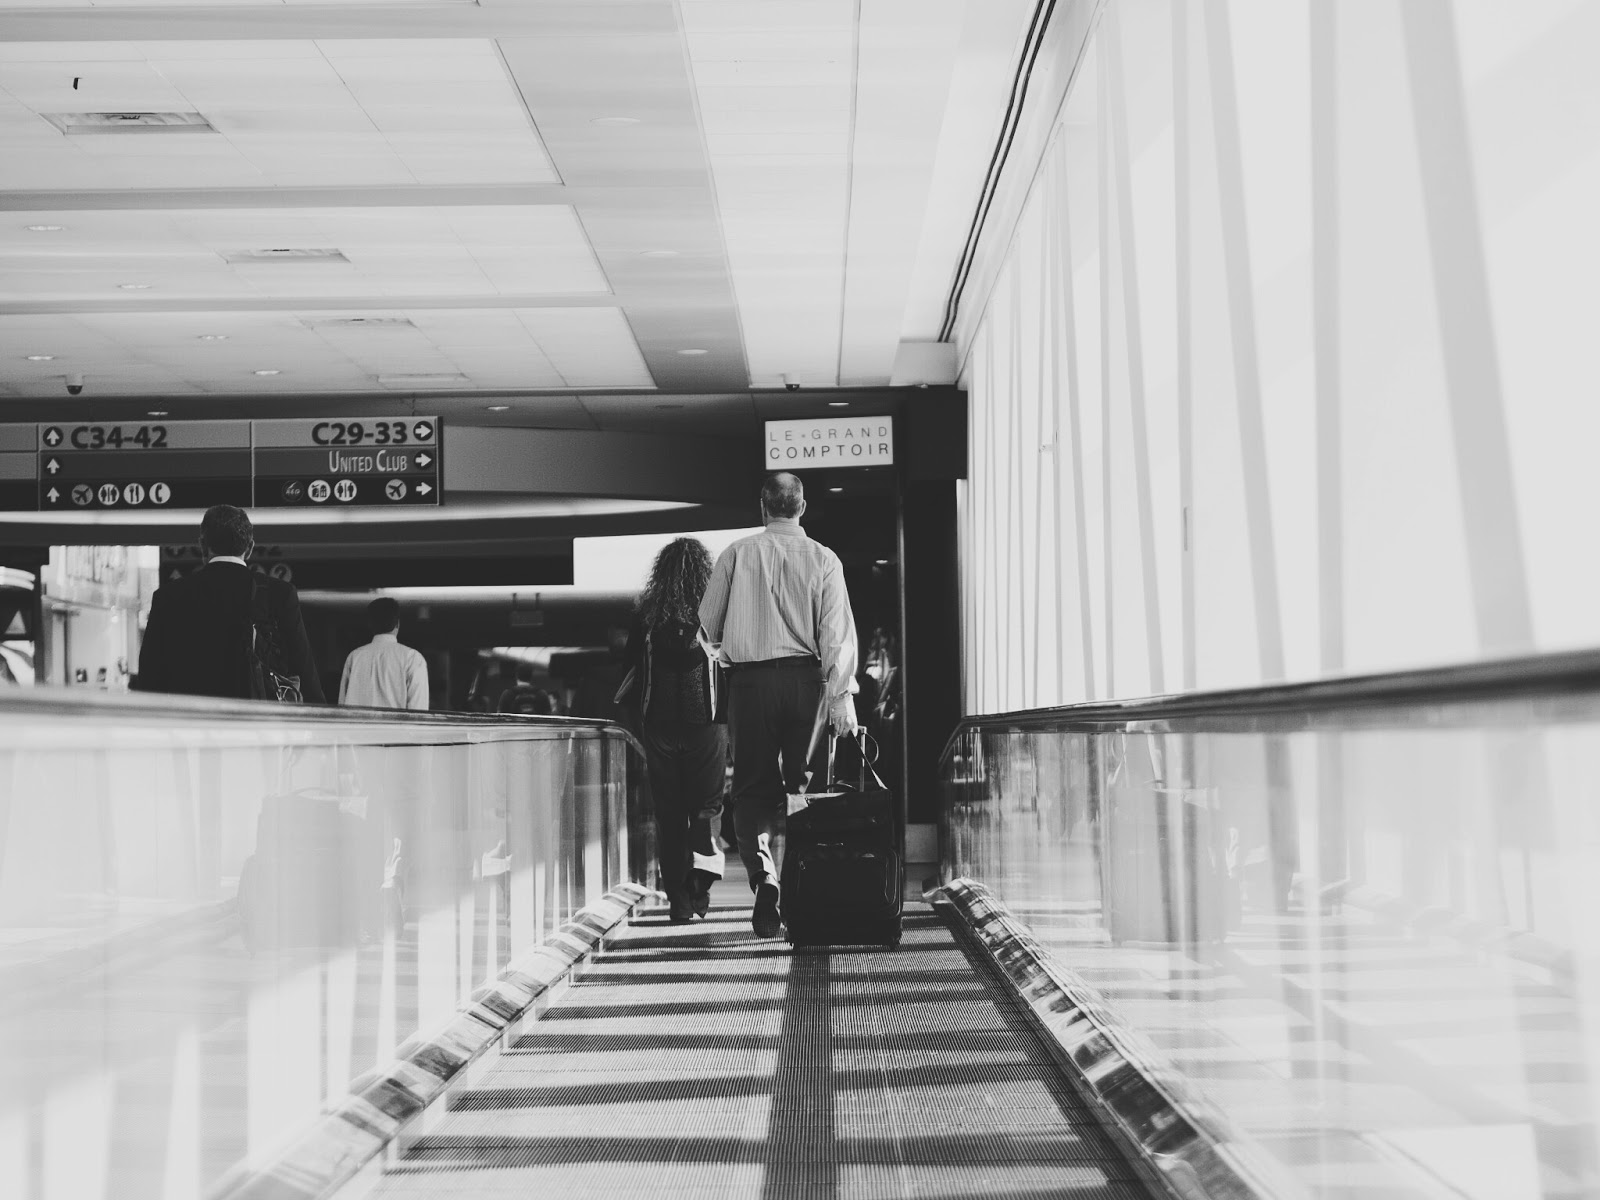
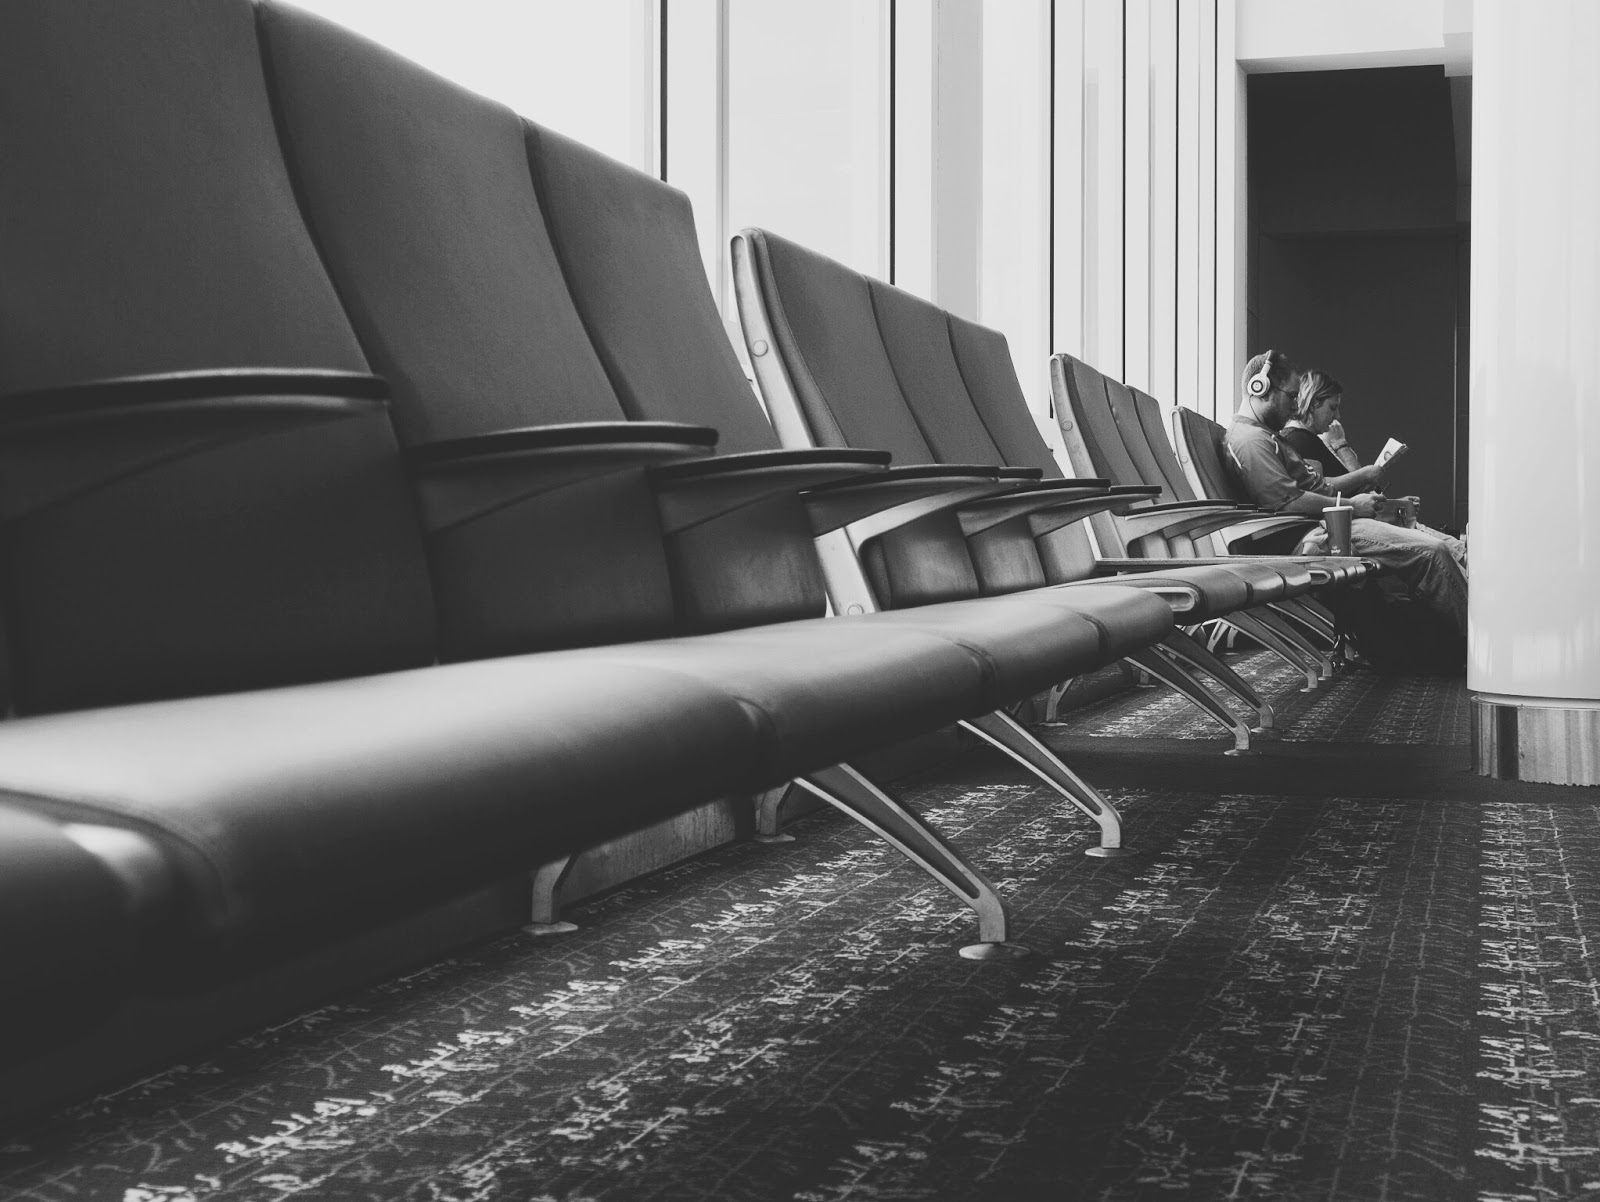
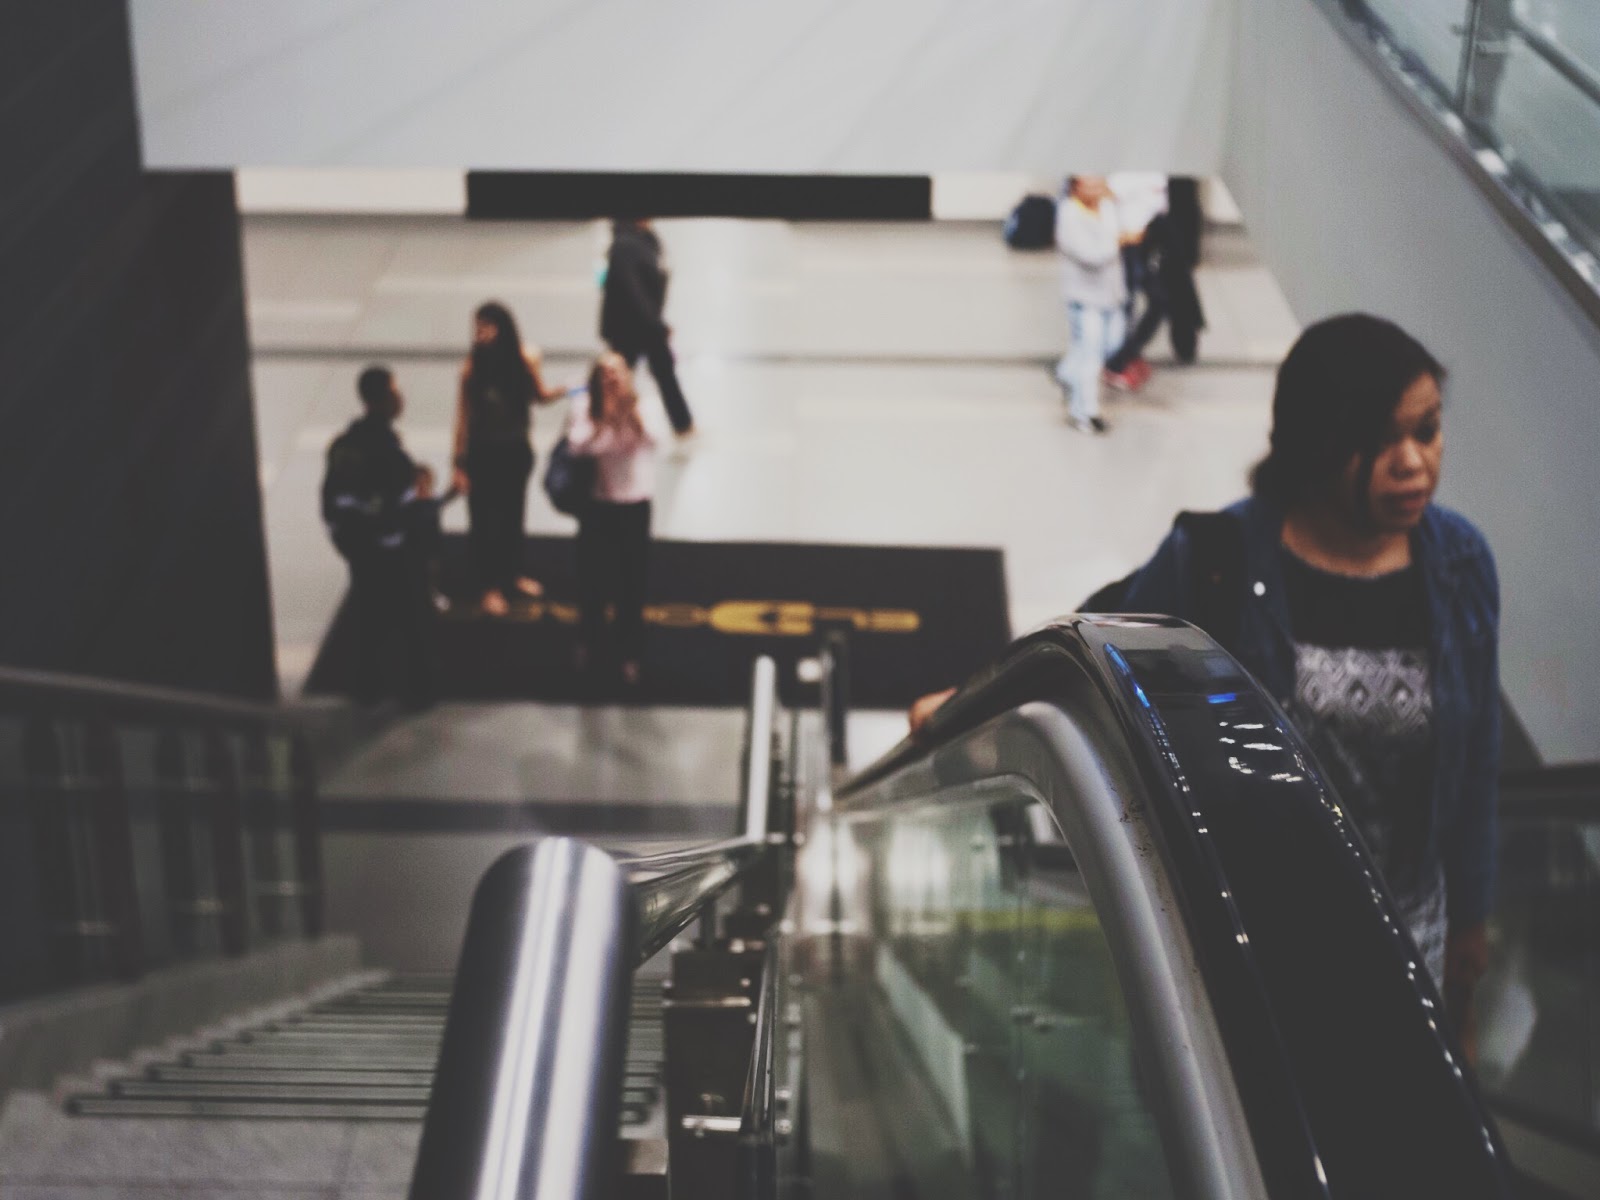
I heard about the an update to iPad's VSCO app through The Phoblographer and decided to try and download it while offshore. Because of the horrible internet out here, it took about three days, but it was worth the wait. The Phoblographer has provided a very nice article and I do not want to beat a dead horse so here I just wanted to highlight some of the newly added features and give my opinion on some things that would make this app truly amazing. All photos in this entry were taken in various airports which I find are one of the most interesting places to practice street photography.

VSCO 4.0

Like Julius Motal mentioned, when you open VSCO for the first time you will be brought to this screen:
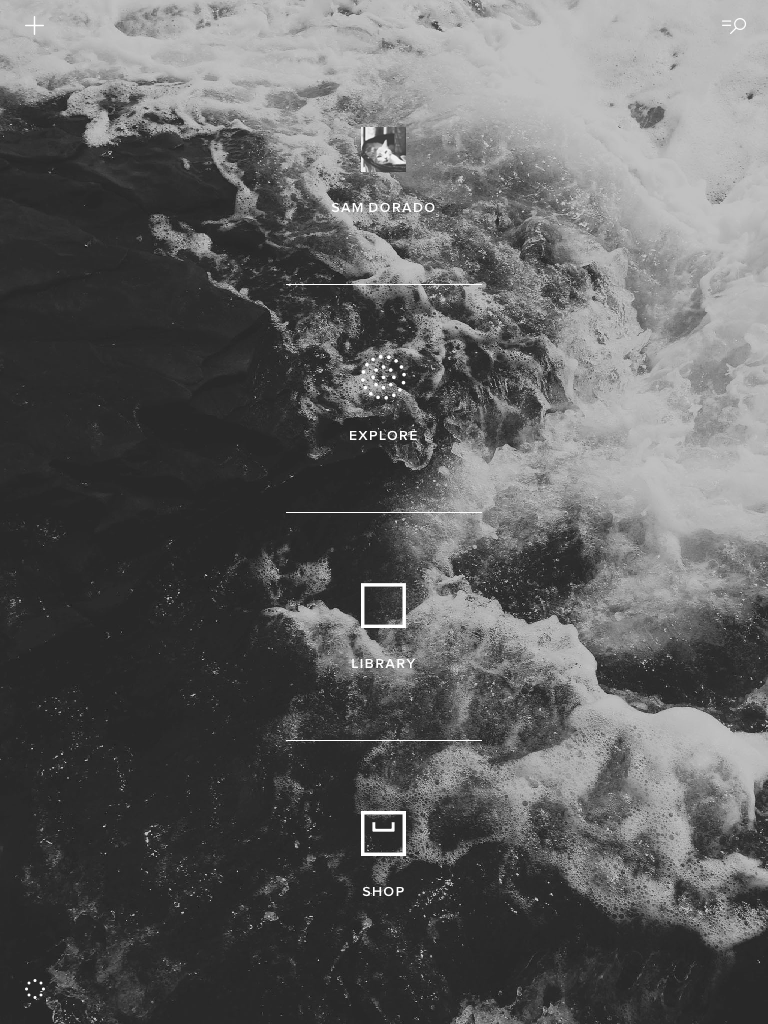

At first I was bummed because I could not figure out how to change the background photo. Being stuck with viewing the same abstract triangular building image for the rest of my days scared me. But then... it changed!!! Awesome, now I am actually excited and looking forward to what they present each week (or whatever the interval may be). One thing that The Phoblographer did not mention was that if you tap on the circle dot icon at the bottom left hand corner of the page a preferences menu appears. This will let you change a host of things, but (in my opinion) most importantly the order of presets!!! I must admit having presets A4-6 removed from A1-3 just because they were purchased at a different time drove me crazy! I am so very grateful for the person at the VSCO headquarters with a slight case of OCD. You can either hold the cross (+) at the end of the preset box and move it up and down OR just hit A-Z and bring a little order to your life.

  
This applies for the toolkit as well. Genius.


Once you import your images into your library, there are several options for viewing by tapping on the gridded square at the top of the interface. 
In the old version of the app, this was your only option:


Now you have three options to choose from and the best thing is that the images are seen in their native aspect ratios (I have never been a fan of the square format):


 On top of all this, you can customize what you see which makes life easier if you are working on editing a series of photos at one time:


After choosing an image from your library to edit you have the option to apply a preset (paintbrush icon) or make global edits (wrench icon). I usually work by applying the preset and then tweaking the output but if you make any global edits first and then apply a preset they will be applied on top. One nice feature is that you can now see how your image will look with multiple presets applied at the same time. You just hit the gridded square icon at the bottom left of the interface after pressing the paintbrush icon.


Another great improvement is that you can see exactly what has been applied to an image by hitting the "history" icon:


This is very nice, but I miss having the option to "go back one step" which the older version had. Here the only option is to revert the image back to its original state (bottom right corner) and if you press and hold the image it will show the original as well - like in Snapseed. Some other changes to the iPad app are the ability to sharpen and add a vignette both of which were not a tool in the previous version.


Additional features I have not used so will refrain from commenting on include: syncing between devices, the newly implemented VSCO journal, and improvements to using the camera. The last thing that I am excited about but have not yet experimented with is the ability to upload your images using your browser and have them show up on your device. This makes perfect sense for those using something other than their phone as their primary camera. I usually shoot raw with my EM5, make slight adjustments in Lightroom (mainly sharpening with a mask), export, and then transfer the JPEGs to my iPad. Now at least the last step will be avoided!


Extra Image Samples   


Conclusions


I have always been a fan of the VSCO platform and the updates to this app for iPad definitely make it a more pleasurable experience. I think it is now even better than the android version on my phone however there are some things that would make this app exceptional. For starters, and my major gripe is that I cannot access my G+ library!!! In order to get to those photos I have to download them to the camera roll first which is inconvenient and unnecessary. I think this is an iPad issue however as I can access the G+ library with all of the apps on my phone, but none of the same apps on the iPad. I suppose the work around is to import them on my phone first and then wait for the devices to sync but it would just be great import directly. Also, I do not think that you can directly transfer an image from VSCO to edit in another app. The image needs to be saved to the camera roll first and the end result is a bunch of versions of the same photo. Another item on my wishlist is the 16:9 aspect ratio as a crop option but as a film photography emulator I understand why this cinematic option is not included. Finally, it would be nice to be able to add a border directly in the app but again, as a marketed film emulator I understand that VSCO is not "that kind of app". Regardless, if you have an iPad, head over over to the app store and give VSCO a shot! I have pretty much purchased/downloaded all the presets available and besides the free ones (which are awesome- especially Hypebeast) I recommend the "Legacy" and "Limited Edition" collections. Most of the photos in this blog were processed using the 02, A5, B2, C2, HB2, LV2, N1, and SE3 presets which have become my favorites. 

Sam D.
 
© 2012. Design by Main-Blogger - Blogger Template and Blogging Stuff