


 |
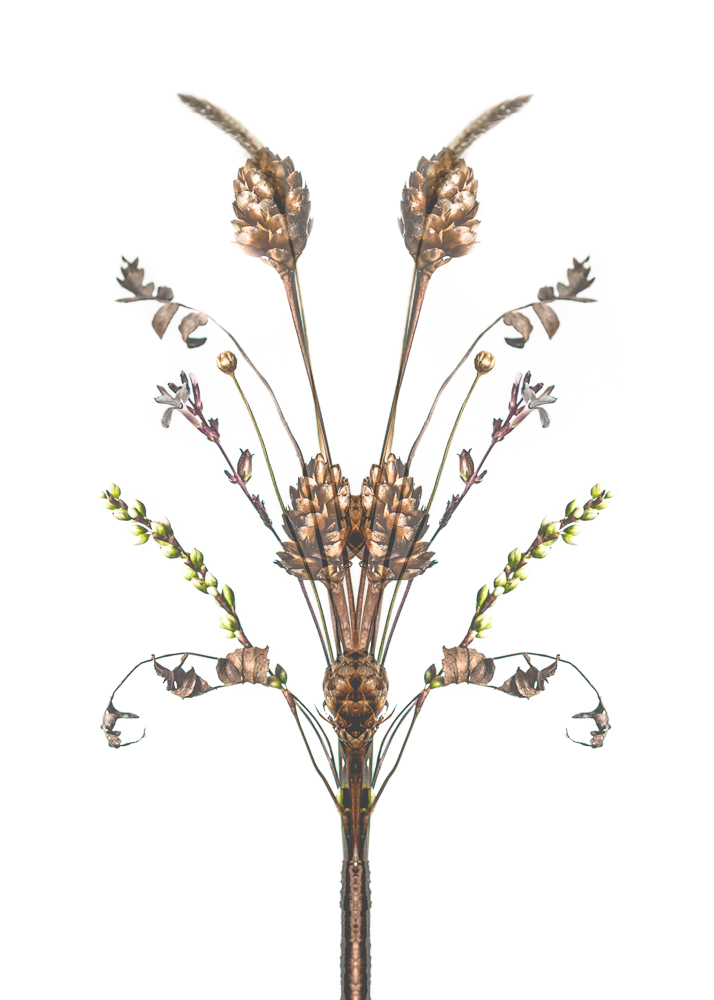
| Wildflowers |
A while back I submitted a collection of photographs to GRAMR in hopes of joining their team of photographers. They got back to me and let me know that they were interested in floral themed photography for spring. This is in no way my genre but my first idea was to do something that involved wildflowers because I think their beauty is often overlooked. I collected some samples and brought them back to my home and photographed a group of them under studio conditions. While in the post processing phase I thought it would be neat to process the shot as a symmetrical double exposure. The resultant photo is above and while it was too experimental for the card company, I am happy that I discovered this technique. All that is required is the Enfuse plugin (originally reviewed for HDR here and multiple exposures here) and I thought it would be fun to show what I did in Lightroom to make this image:
1. Make global and local adjustments:
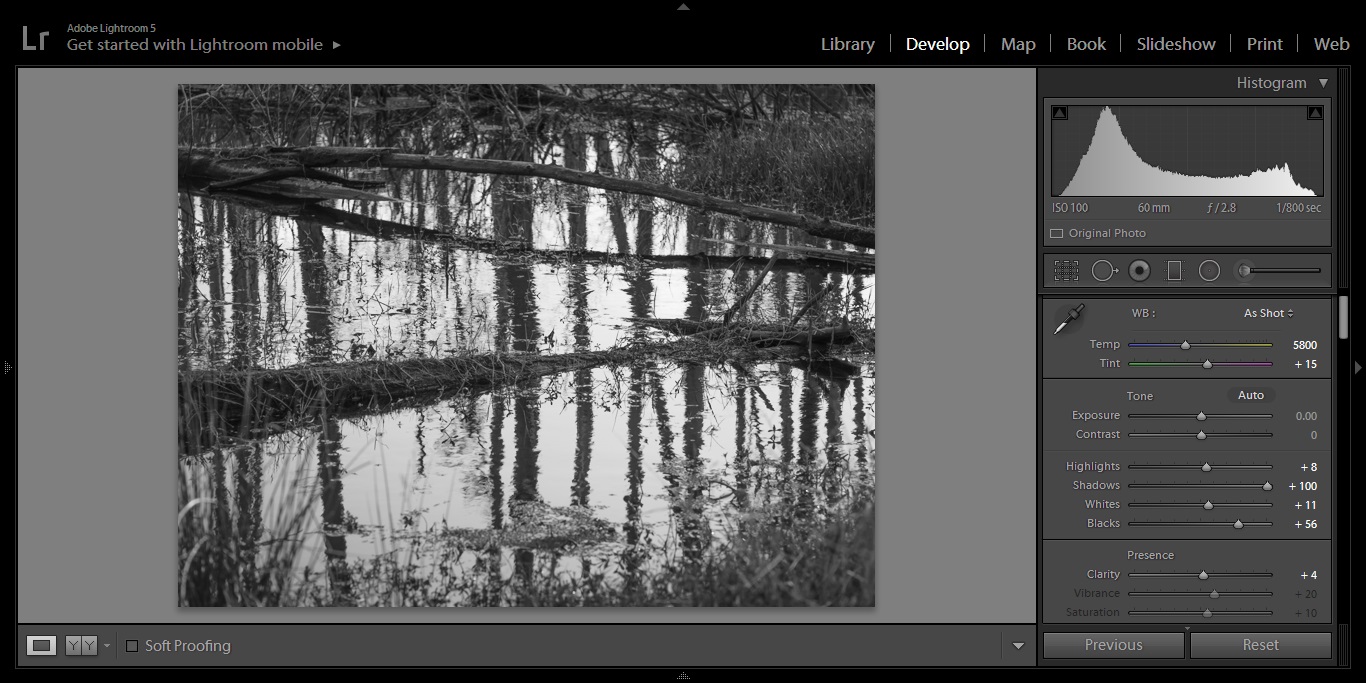 |
| Adjust anything that your RAW image processing workflow normally consists of. For me, this includes adjusting the white balancing, choosing an aspect ratio, adjusting items under Lightroom's "Basic" module (shown), tinkering with the tone curve, and a good balance between sharpening and noise reduction. Also conversion to black and white with adjustments to the color channels if necessary. |
2. Create a virtual copy:
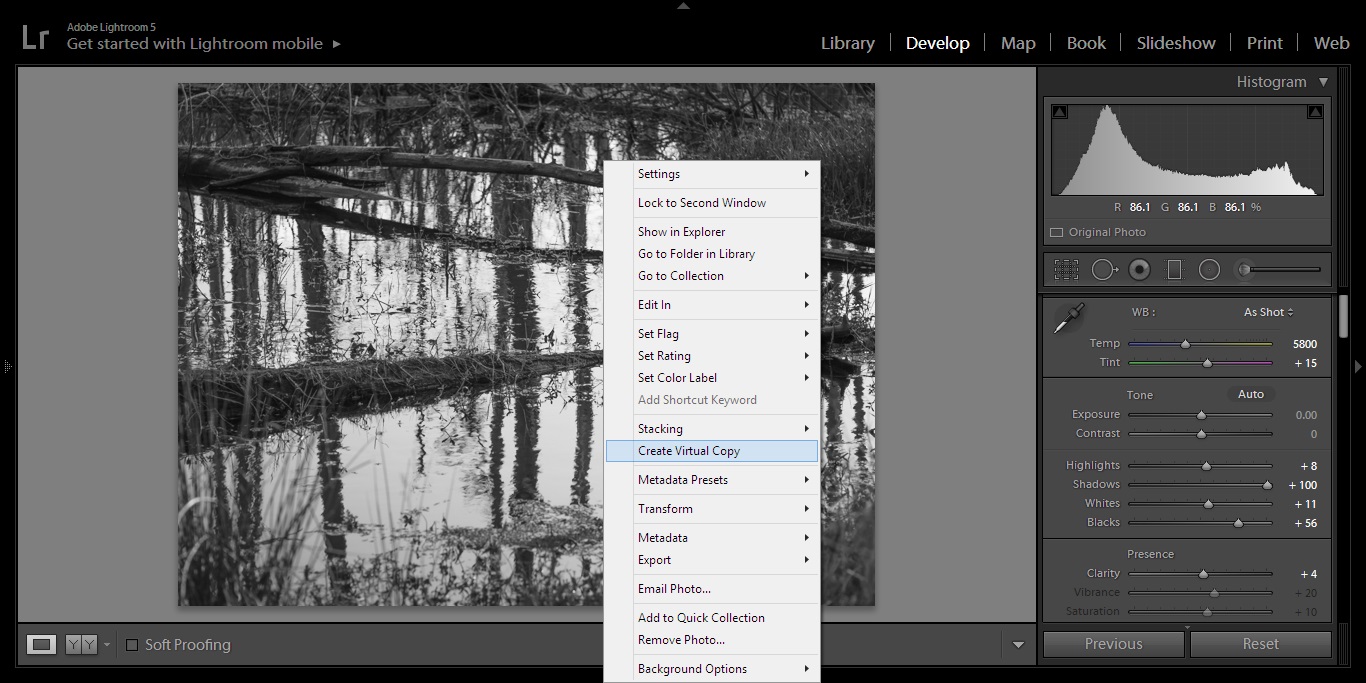 |
| Right clicking on the photo will bring up a menu which allows you to make a copy of the image that has the same global and local adjustments made to the original version. |
3. Transform the copy:
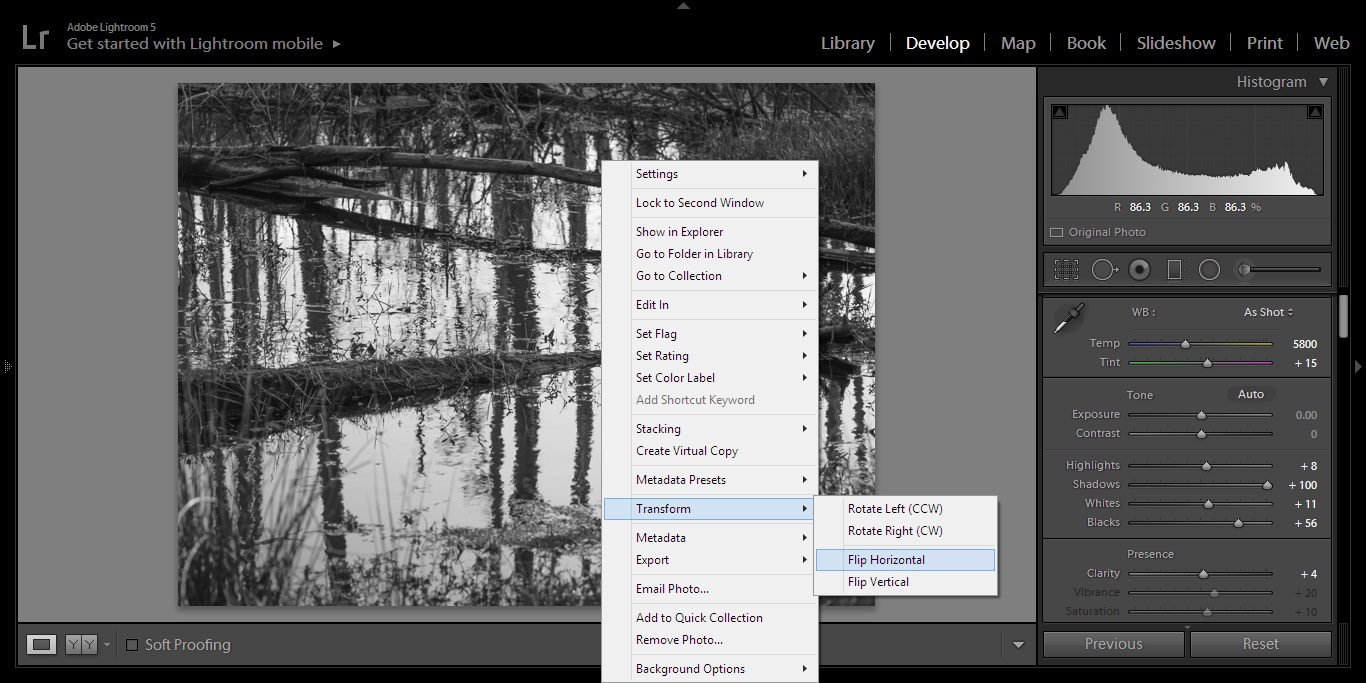 |
| Under the "Transform" heading of the same drop down menu you have the option to flip the image horizontally or vertically. I chose horizontal for this image because I want it to have left to right symmetry. *** You can also flip horizontally and then again vertically if you want a reflected symmetrical image. |
4. Enfuse:
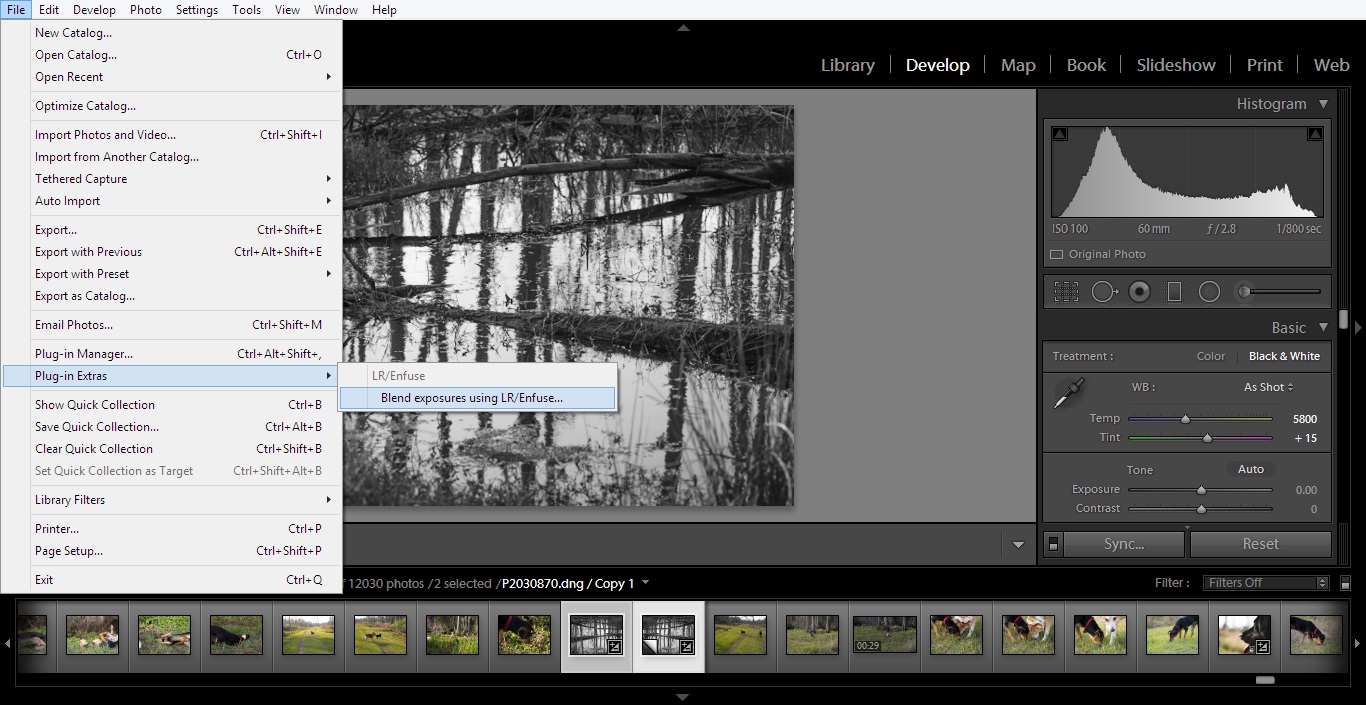 |
| The initial review that introduced me to this plugin and link to download Enfuse can be found here. It seamlessly integrates into Lightroom and can be found under "Plugin Extras" in the "File" directory. |
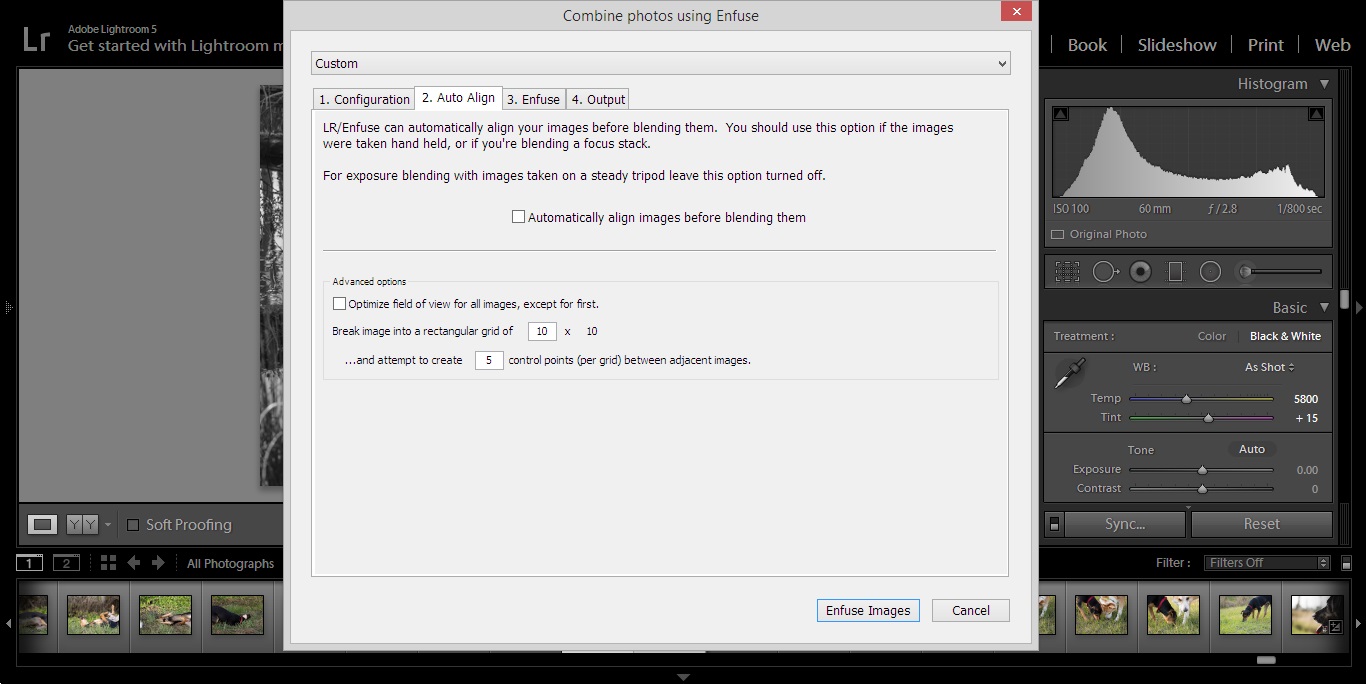 |
| This is probably the most important step, make sure the "Automatically align images before blending them" box is unchecked. If it is checked, you will likely get an error message after about 5 minutes of Lightroom having a melt down because the images don't line up. |
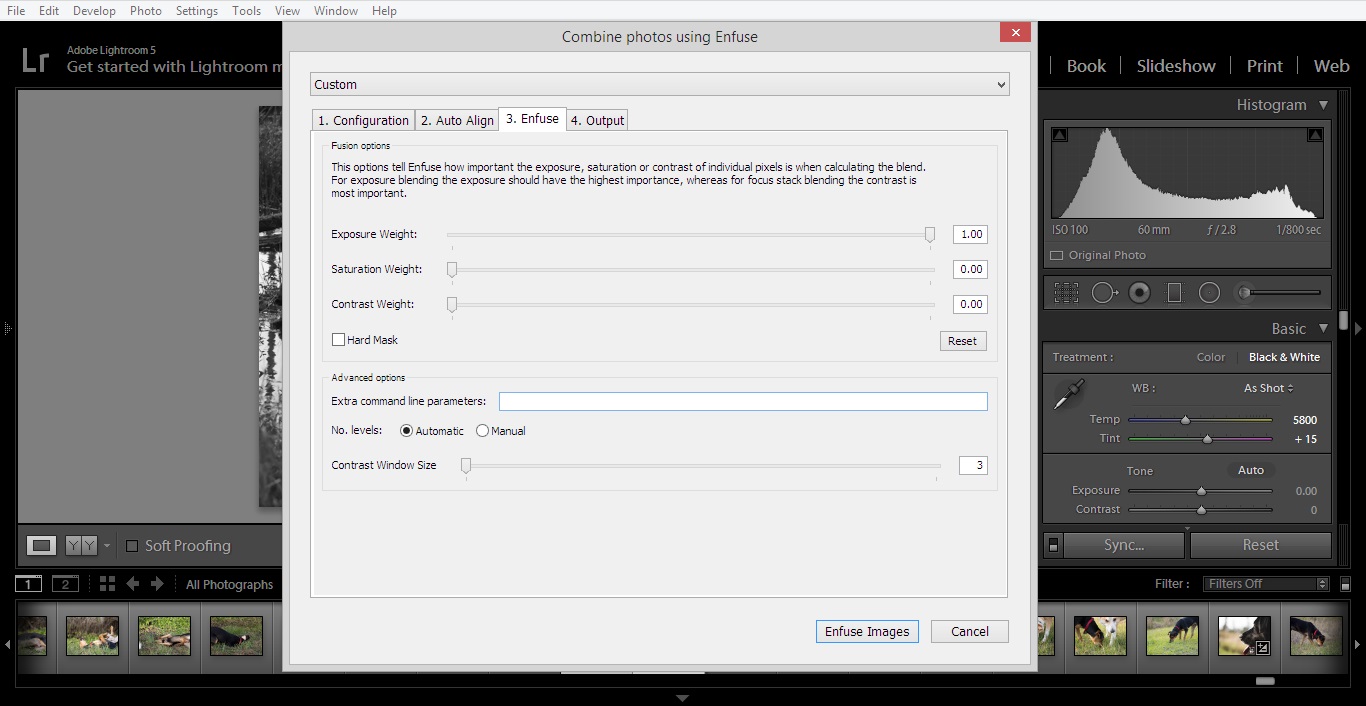 |
| Under the "Enfuse" tab I usually set the Exposure Weight slider to 1.00 like I do during my normal double exposure workflow. After this, choose your output options and hit the "Enfuse Images" button. |
5. Edit the resultant photo to taste:
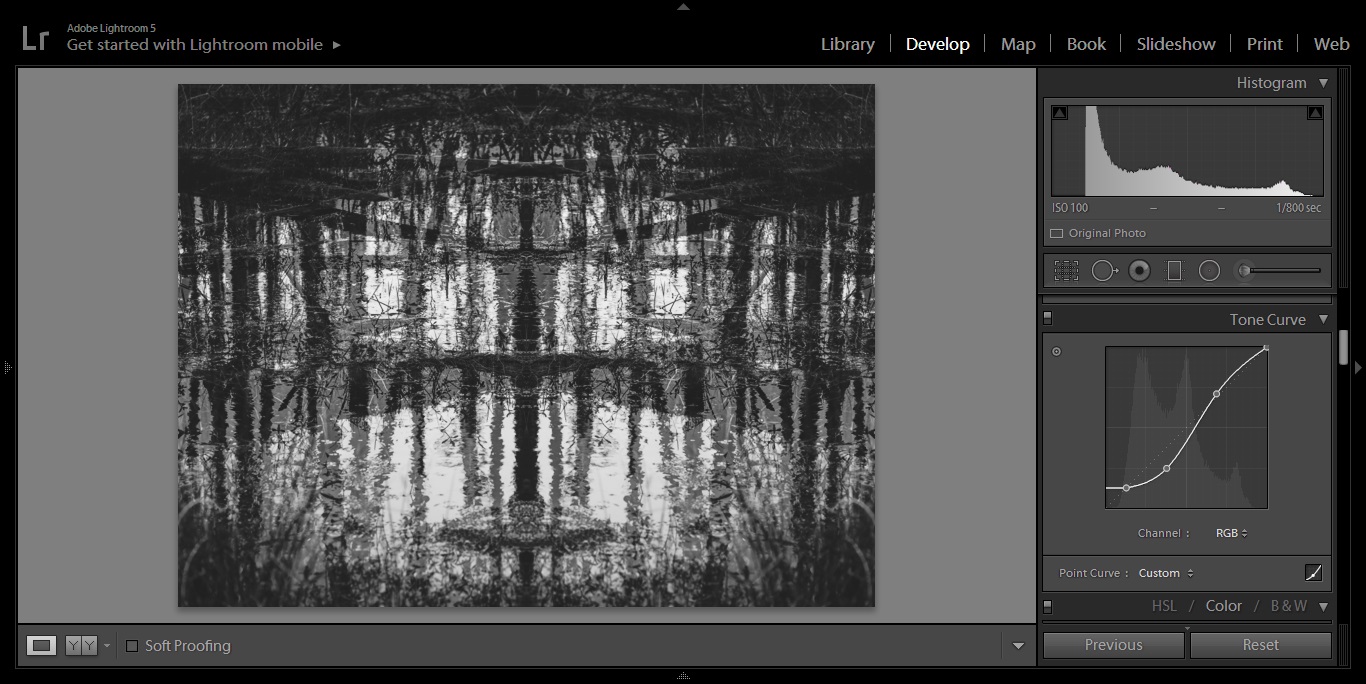 |
| In my experience, the double exposures processed through Enfuse have come out "flatter" than their original counterparts. To fix this I usually adjust the tone curve of the image or make additional global adjustments in the "Basic" module in Lightroom. Color images usually require more work and sometimes I will do a black and white conversion during this step if I cant make it work in color. |
 |
| Vualá |
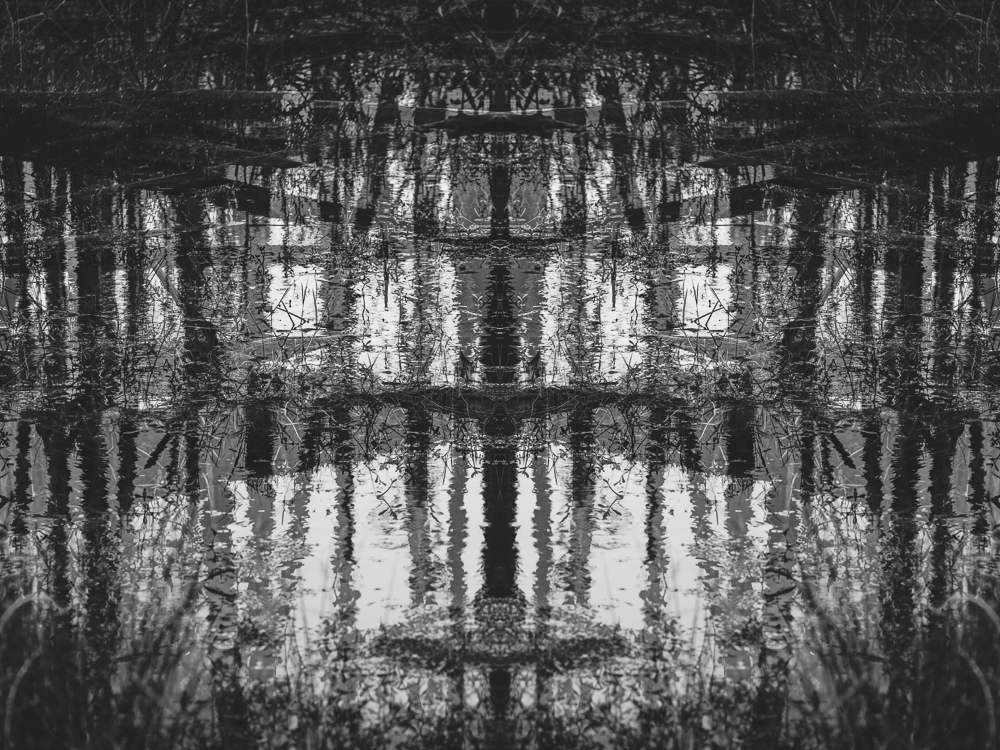
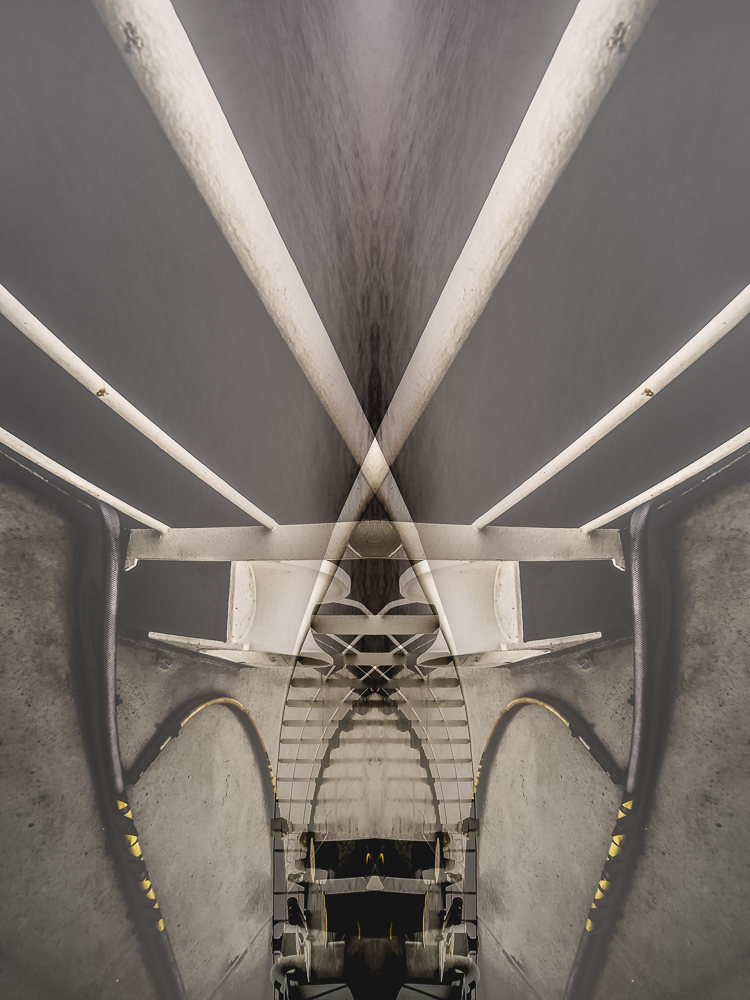
This type of abstract photography is probably not for everyone, but I like the idea of producing something unique out of a seemingly normal photograph. When culling through my Lightroom catalog to produce extra image samples I focused on finding ones that had obvious leading lines. Also, detailed subjects that are directly in the middle of the frame have the tendency to become lost so images composed with the rule of thirds in mind are better suited for this. I would love to hear what you think of this experiment in the comments section =) -Sam
If you live in, or are traveling to Florida and would like to schedule a photo-shoot, I am currently offering portrait services in and around Central Fl. Check out more of my work at www.samgoldphotography.com
Extra Image Samples
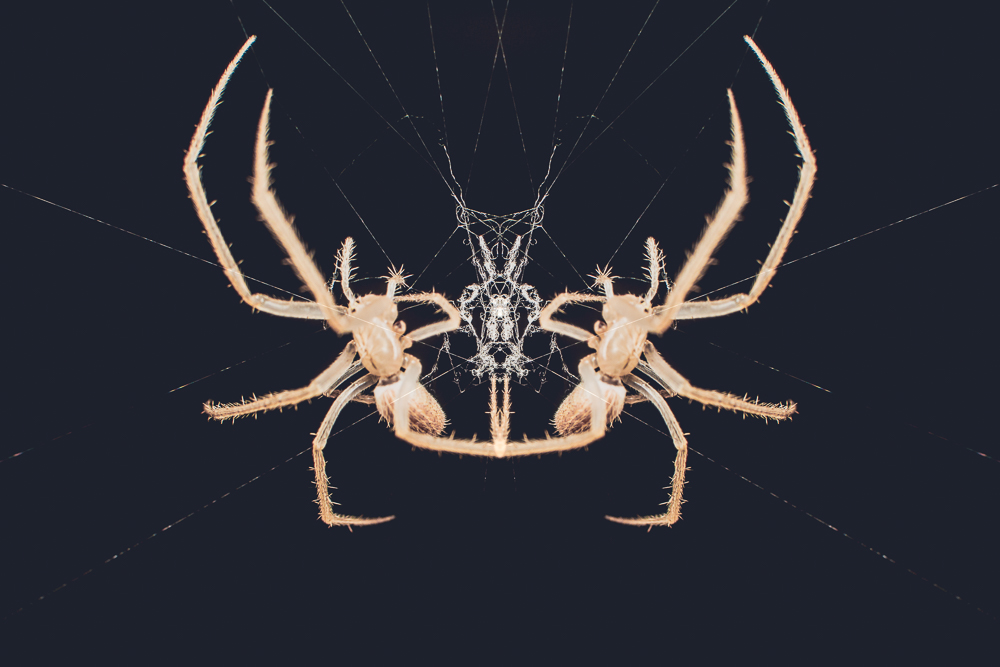 | ||
| Charlotte's Web |
 |
| Little Green Man |
 |
| DNA |
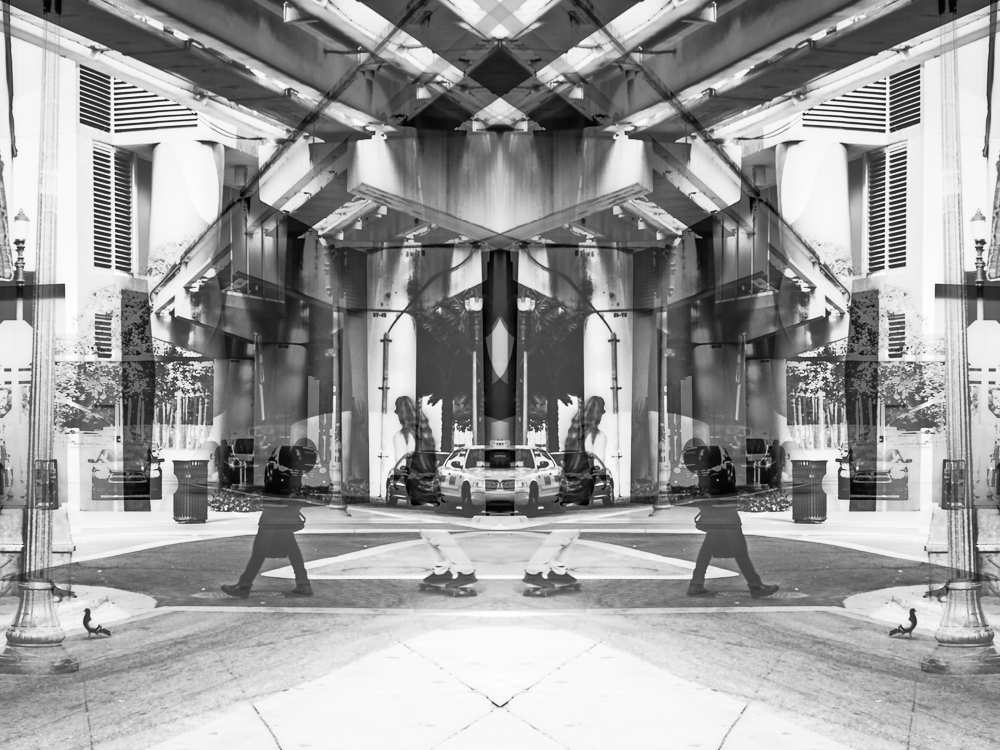 |
| Skater Boy |
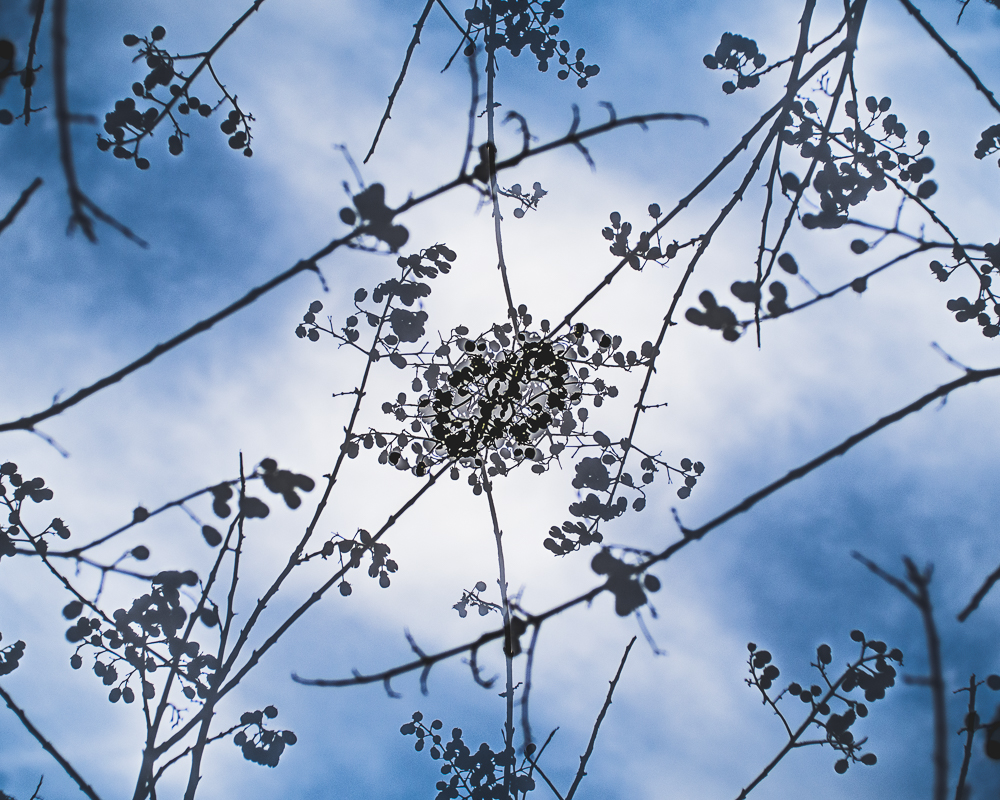 |
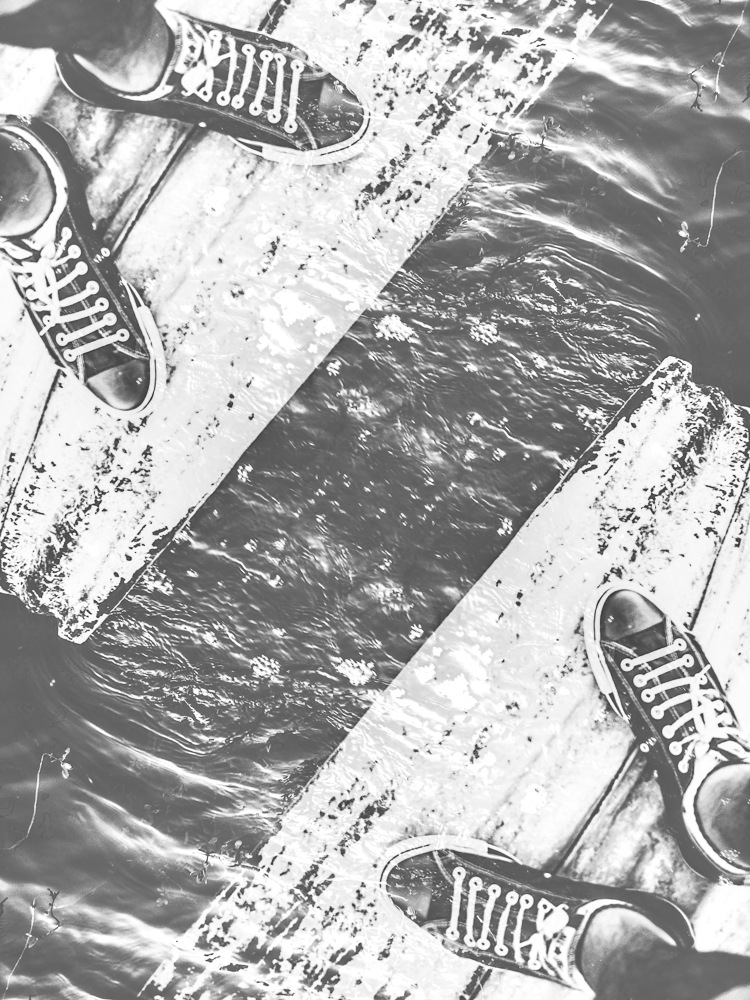
| Infinity *** I transformed this image horizontally and vertically before "Enfusing" |
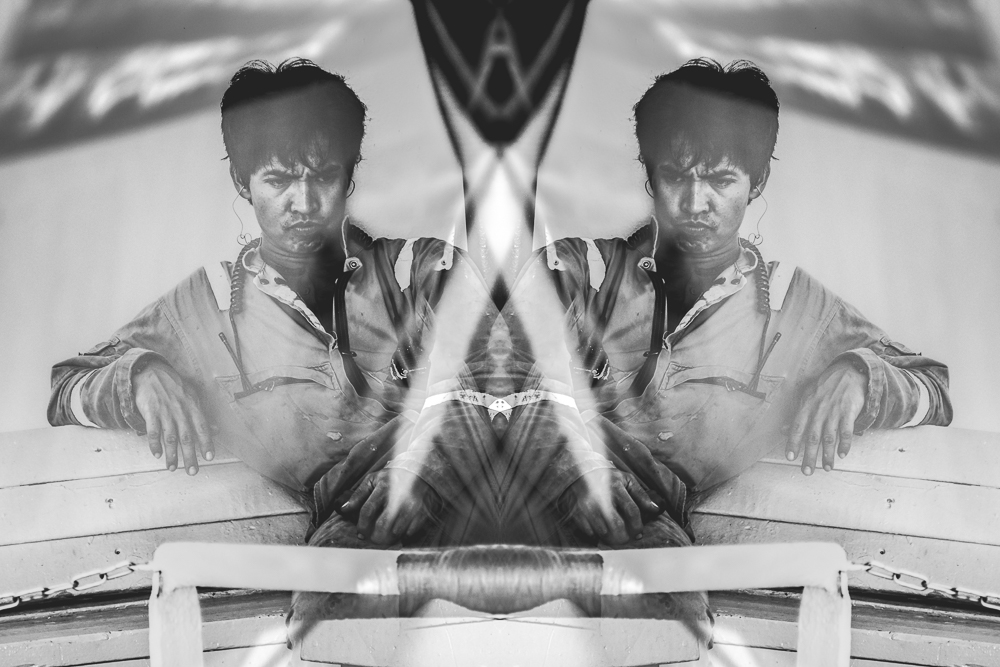 |
| Conjoined |
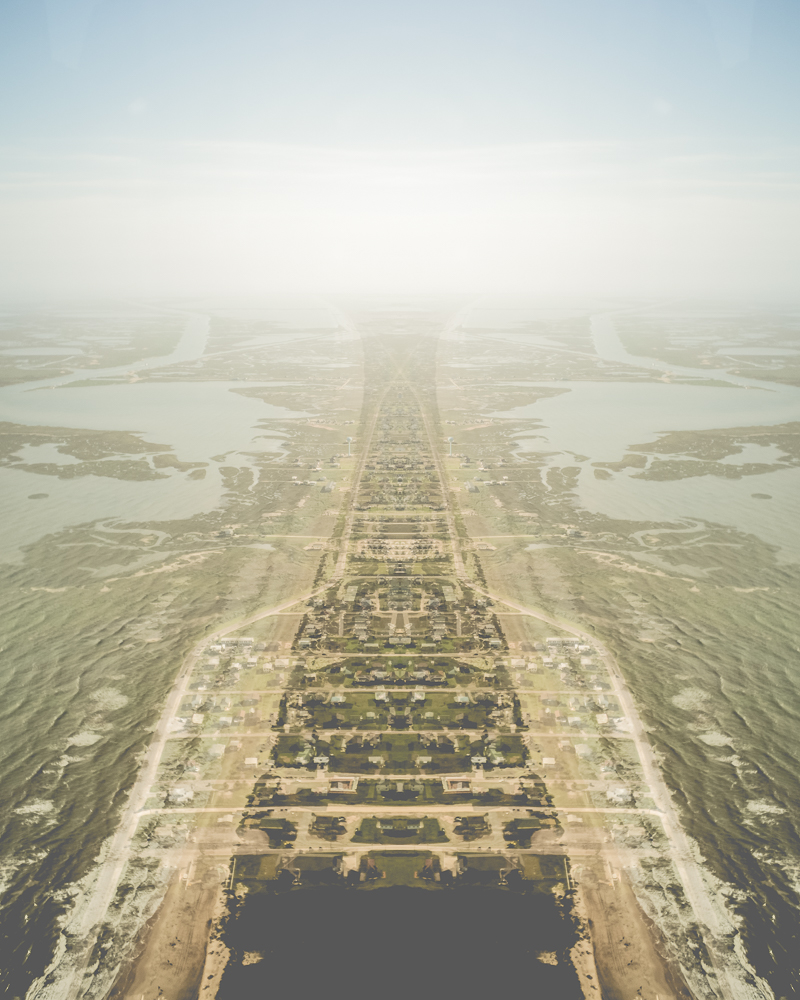 |
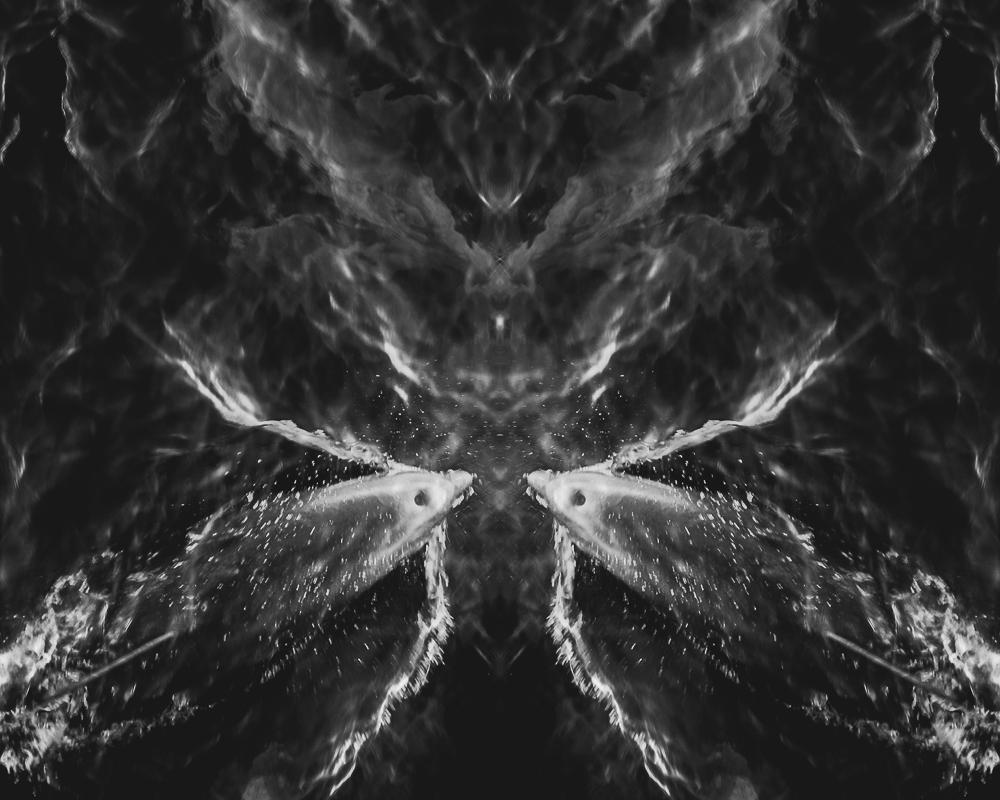
| When Sea Level Rises |


 Posts
Posts

