Showing posts with label flash photography. Show all posts

October 16, 2015


After purchasing the very inexpensive Coco Ring Flash and reviewing it for macro work, I hoped to write a follow-up post describing how effective it was for portraiture. This variation of ring flash is most similar to ExpoImaging's first iteration of it's Rayflash and was designed to be used attached to a speedlight "on camera". I tried explaining in my original review that it was incompatible with wider focal lengths because most lenses do not clear the front. Below are a few images of the ring flash attached to my OMD EM5 which show what I was trying to iterate.  


The ring flash was designed for traditional DSLRs which are larger than most mirrorless systems out there and it may not be compatible with your camera (for example, it is not compatible with my Panasonic GX7). As for flashes, I have successfully used the unit with a Yongnuo YN560 II and Yongnuo YN 560 III, both on and off camera. 


Despite these caveats, it has proven to be an effective light modifier in many different scenarios in and out of the studio, check out the examples below.

Back-lit Subject


Situations in which your subject is back lit can prove challenging especially if you are relying on your camera to meter the scene. One solution is to use spot metering to ensure your subject is exposed properly and deal with an overexposed background later. Another option is to switch to manual mode and expose for "the environment", which will likely result in your subject being underexposed. The solution is to then use artificial light to properly expose your subject. The maximum sync speed for flash photography is usually 1/250 so you will need to stop your lens down (f/2.8 - 4) to properly expose for the surroundings or use an ND filter and shoot wide open. In the examples below, I shot at the maximum sync speed and stopped down between f/2.8 and f/5.6.      


Subject in the Shade


While reading through the Lighting 101 course provided by the amazing Strobist website I was particularly inspired by the section describing how to balance flash with ambient lighting. You should definitely check out the article but basically you underexpose your shot and use artificial lighting to properly expose your subject. In doing so, you add a bit of depth to your image. The article describes the use of an umbrella but I found the ring flash gives interesting results as well. The examples below were shot with the ring flash while the model was in the shade and were shot between f/4 and f/8.


As a Key Light in the Studio


Ring flashes are popular in fashion photography because the "head on" light eliminates the shadows usually seen when lights are above or on either side of the model. Attaching the ring flash to a speedlight that is off camera allows you to use it as a key light the same way an umbrella or softbox would be used and introduce shadows to your photos. I find that the ring flash is a great alternative to a more traditional light modifier because its output is "narrow" like that you see from a snoot. Taking the ring flash off camera also allows you to illuminate the subject head on but take the photo at a different angle (as shown in the second example below). In order to accomplish this you will need a wireless trigger (I use Yongnuo's YN 560 TX) or set your speedlight to slave mode and trigger it using your camera's built in flash (works well with my GX7 because I can point it towards the ceiling).  


Conclusion

Speedlight with green gel camera left, ring flash camera right

Considering the $50 price tag and its versatility, it is very hard for me not to recommend this light modifier. The only real downside is its size compared to the EM5 and that theres no guarantee it will fit every camera. Another thing to note is that the light that the ring flash emits is a bit on the cool side (like silver umbrellas I have used) but its nothing that cannot be fixed in post.

Sam

If you live in, or are traveling to Florida and would like to schedule a photo-shoot, I am currently offering portrait services in and around Central Fl. Check out more of my work at www.samgoldphotography.com

April 06, 2015

Hunter Cavanagh

It has been a goal of mine to make portraits since I started learning the basics of photography. After a long while of avoiding it, I began dabbling in self portraiture after purchasing a GX7; implementing its remote shooting mode to experiment with lighting set-ups in my spare bedroom (examples here). From there, I  moved on to photograph my partner which gave me a little experience on shooting another person. I liked the results of all these "studio" efforts but really wanted to make an attempt at environmental portraiture. I knew that the nature trail by my apartment would make the perfect setting to try this, but my partner is terrified of snakes and refuses to step foot in leaf littered terrain. So without any talent, I've just spent my time at Shingle Creek scouting sites and practicing general composition for when the opportunity did arise to shoot there. 

Handy-Dandy Notebook

Hunter, the aspiring model centered around this shoot contacted me through Instagram at the end of last year wanting to work with me based on my non-portrait work. After a several month long discussion and scheduling conflicts and then more discussion we decided to do a bohemian style fashion shoot against a natural setting. The day of the shoot I woke up quite nervous and decided I needed to plan the anxiety away. I wrote down the equipment I was wanting to use, ideas we had discussed, and drew out several shots with information on what camera body and lens to try first, lighting, and how much time to dedicate to the shot. I knew that I wanted to limit myself to two focal lengths and chose to have the 45mm f/1.8 and coco ringflash mounted to my EM5 and the OM 28mm f/2.8 + generic focal reducer mounted to my GX7. I also used two Yongnuo YN560-III speelights, the YN560-TX flash controller, and a silver umbrella. For a few of the shots I abandoned artificial lighting and relied on the wonderful natural light that was streaming in through the forest canopy.

28mm f/2.8 + generic focal reducer
Natural Light

In the end I found that trying to use two systems simultaneously was frustrating so I abandoned the GX7 and just switched lenses a few times throughout the shoot. Like I said in the GX7 review, my EM5 just feels like home and handling it is just more intuitive for me since I learned on this system. In regards to areas of improvements/changes, I wish that I would have brought something heavy to stabilize my light stand. In one instance, it fell over and ended up bending the umbrella on one side :/ Also, I should have used my OM 35mm f/2.8 instead of the 28mm f/2.8 because I could not use the ringflash with the latter without it interfering with the shot. Next time, this will be my second focal length. My last "head-desk" moment happened when I came home, put my card in the computer to download the images only to realize that I had shot the entire session in JPEG only. Despite all this, I learned a lot and wanted to share some of the gear and lighting scenarios I used to create these images. As far as post processing goes, I edited one image from scratch in Lightroom, saved the edits as a preset and then applied the preset to the other images in that set/"look". I then made made minor adjustments to ensure the images were similar in aesthetic and exported them to VSCOcam for final edits using the VSCO uploader.

All That Glitters 


  • EM5 and Olympus 45mm f/1.8
  • Ringflash + Yongnuo YN560-III mounted to hotshoe
  • Lighting Diagram:


Inspired by Misty Day


  • EM5 and 28mm f/2.8 + generic focal reducer
  • Yongnuo YN560-III bounced off silver lined umbrella
  • Yongnuo YN560-TX mounted to hotshoe
  • Lighting Diagram:


Same lighting diagram as above, except model stood and I moved to the other side of the tree, ie. position of umbrella did not change.

Umbrella camera right

Roses


  • EM5 and 28mm f/2.8 + generic focal reducer
  • Yongnuo YN560-III bounced off silver lined umbrella
  • Yongnuo YN560-TX mounted to hotshoe
  • Lighting Diagram (only applies to first image):


Natural Light

Ringflash

Wildflowers


  • EM5 and Olympus 45mm f/1.8
  • Ringflash + Yongnuo YN560-III mounted to hotshoe


Natural light

We shot all these in the shade between 3:30 and 05:00 pm. Hunter did her own make-up and provided most of the wardrobe and we both contributed to the styling. In general, I shot at iso 200, with a shutter speed of 1/125 to 1/200 and was stopped down between f/4 and 8 when using the speedlights and ringflash or silver umbrella. For the natural light shots, I shot wide open and increased my shutter speed accordingly. All this was based off experimentation as I do not own a light meter and for each of the scenes I let Hunter know when to start modeling once I had figured out what parameters worked best. I would love to hear any additional questions you have in the comments section. I hope this inspires others to try and shoot portraits using off camera flash. It really is not that hard and although there are more efficient ways of figuring out exposure I hope this shows that it can all be done using a little guess work.

Sam

If you live in, or are traveling to Florida and would like to schedule a photo-shoot, I am currently offering portrait services in and around Central Fl. Check out more of my work at www.samgoldphotography.com

March 09, 2014


This post is all about describing some of the methods I have used to experiment with multiple exposure photography. By definition this is a technique where two or more images are combined or superimposed onto one another. This can be done digitally using post production software or by manually opening and closing your shutter several times to expose your film plane (if shooting analogue) or digital sensor multiple times. HDR photography by definition would be considered a type of multiple exposure photography where you combine many photographs with different exposure levels to obtain one with an increased overall dynamic range. Another type of multiple exposure photography would be star trails, but here you stack a ton of photos (at the same exposure level) to trace the Earth's movement using the stars. What I will focus on in this post is the more abstract type of multiple exposure photography where two seemingly unrelated photos are stacked on top of each other. As with most things, this is not going to be every one's cup of tea, but that's OK... I have seen the work of visionary people out there who have the creativity to pull off amazing work using multiple exposures. If your ultimate goal is to preserve the fidelity of photos you take, you may want to stop reading now.   

Lomography Experimental Lens Kit


One of my best friends and I got scheduled to work offshore together and because he is awesome, brought me a Lomography Experimental Lens Kit!!!! We had talked about how awesome it looked but I had no idea how much fun I would have using the double exposure feature. After a long bout of trial and error and finally resorting to the instructions, I figured out how everything worked and began shooting. During my "test shot phase" I was still a bit confused and there was a very steep learning curve. Luckily after spending some time with the setup something clicked and I began to grasp the theory behind multiple exposure photography as well as understand what LOMO was trying to accomplish.


The kit comes with a normal (24mm), wide angle (12mm), and fisheye (160 degree FOV) lens and each has a built in shutter which allows you to take multiple exposures "in camera". In addition it come with a set of small filters which you place in a slot behind each lens. I quickly found out that the ND filters are necessary when using the lenses for double exposures during the day. 


Basically the way you shoot double exposures here is to set your camera to bulb mode and trigger the built in shutter as many times as you desire depending on how much overlap of material you want. The EM5's Live Time/Live Bulb modes are very useful here because you get a preview of the exposure as it is happening. I stuck to the Live Time mode where you press the shutter button to start the exposure and then press it again to stop it. If you use Live Bulb then you will have to keep the shutter button pressed which inhibits your ability to use the on lens shutter button on the LOMO lenses.


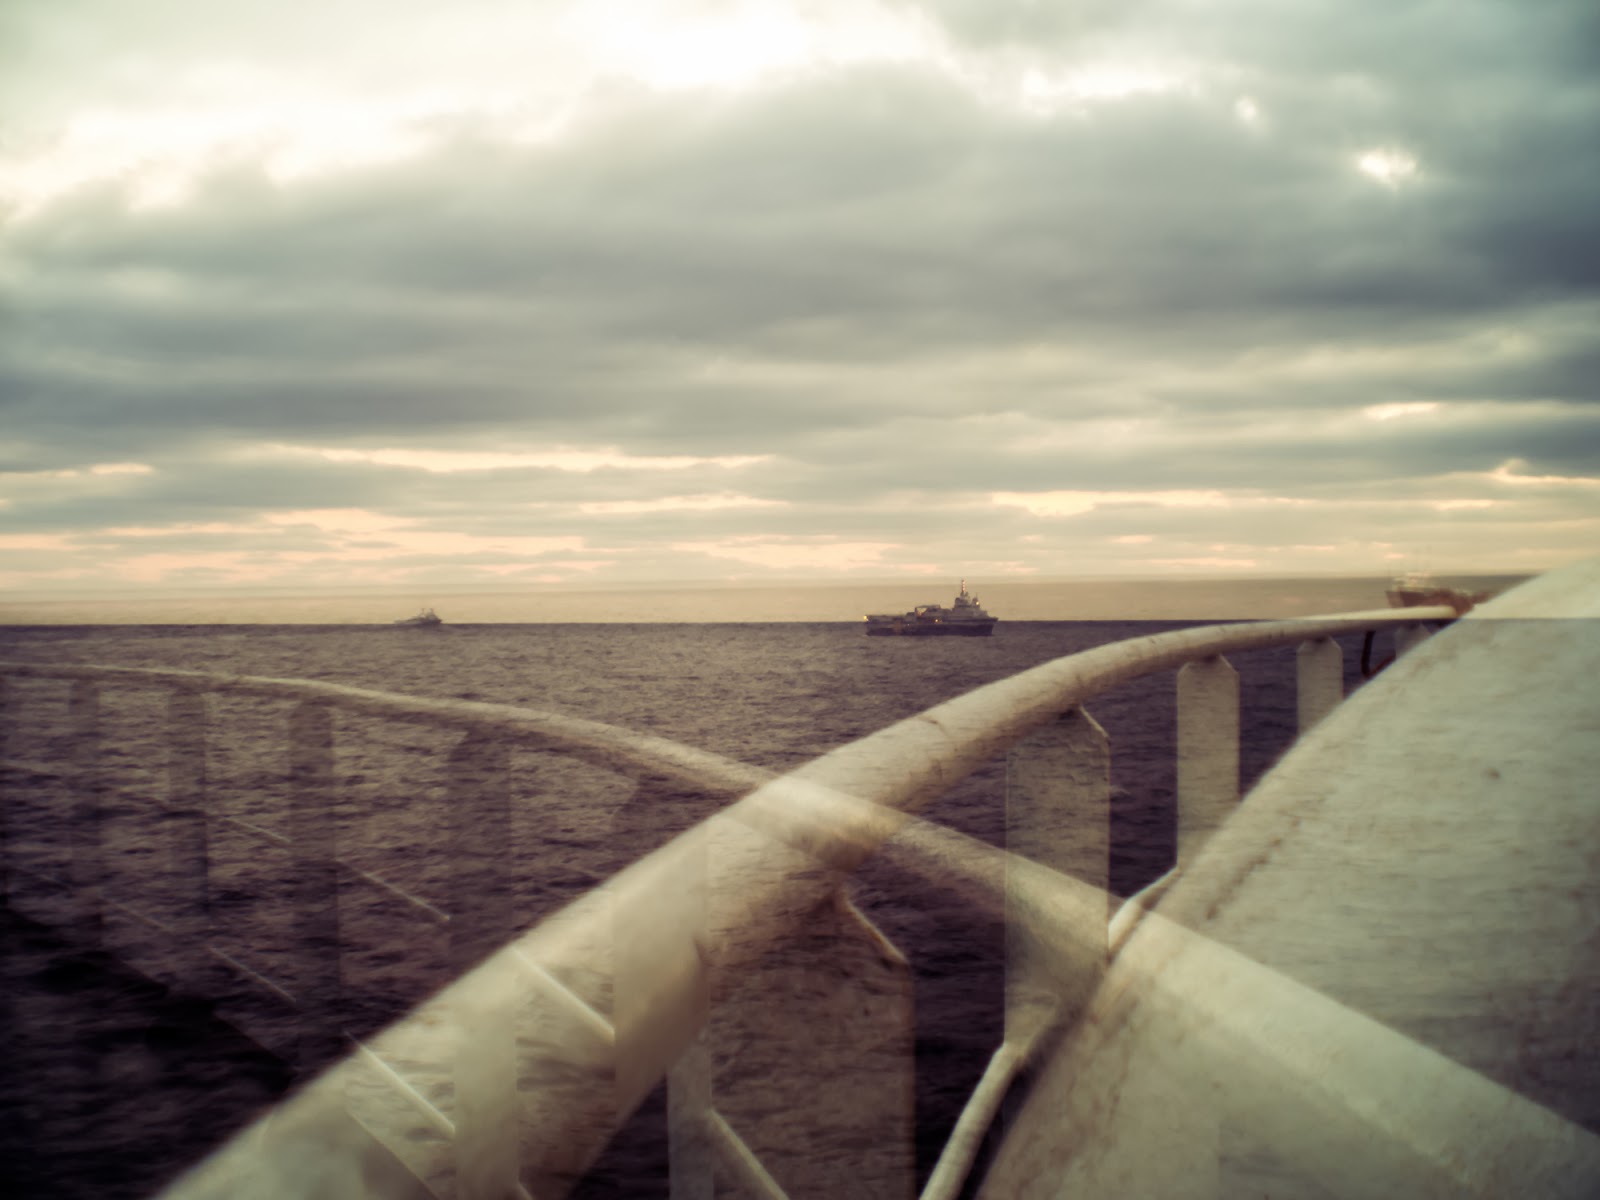
One tip I can leave you with is to have the internal shutter in the "N" position when you are concerned about excessive blur. In the "N" position each time you trigger the shutter it equates to a speed of 1/100 seconds. In the "B" position the shutter will stay open until you release the lever.  I've gotten better results using the "N" mode over the "B" mode even if it takes upwards of 4-5 "clicks" for the first part of the photo and another set for the second. In other words, five 1/100 sec exposures for your first frame and another five 1/100 sec exposures for your second frame will give you sharper images than a one second exposure per frame using the "B" mode. The photo below was shot in using this method... After crudely stabilizing my camera on some stairs I captured the railing and sunset using three 1/100sec exposures then moved to shoot the front of the vessel using two additional 1/100 sec exposures. 


These plastic lenses are not the best when it comes to image quality, but what they lack in sharpness, they definitely make up for in their ability to inspire you. I wanted to do a full on review of the kit, but there are some awesome ones out there and decided to just provide some sample shots below without spending too much time on the specifics of each lens. If you are interested in the E.L.K. check out these other reviews by The PhoblographerMirror LessonsePhotozine, and Dirk Essl. All these links will give you a more in depth look at the kit with tons of sample photos to get your creative juices flowing.


Enfuse


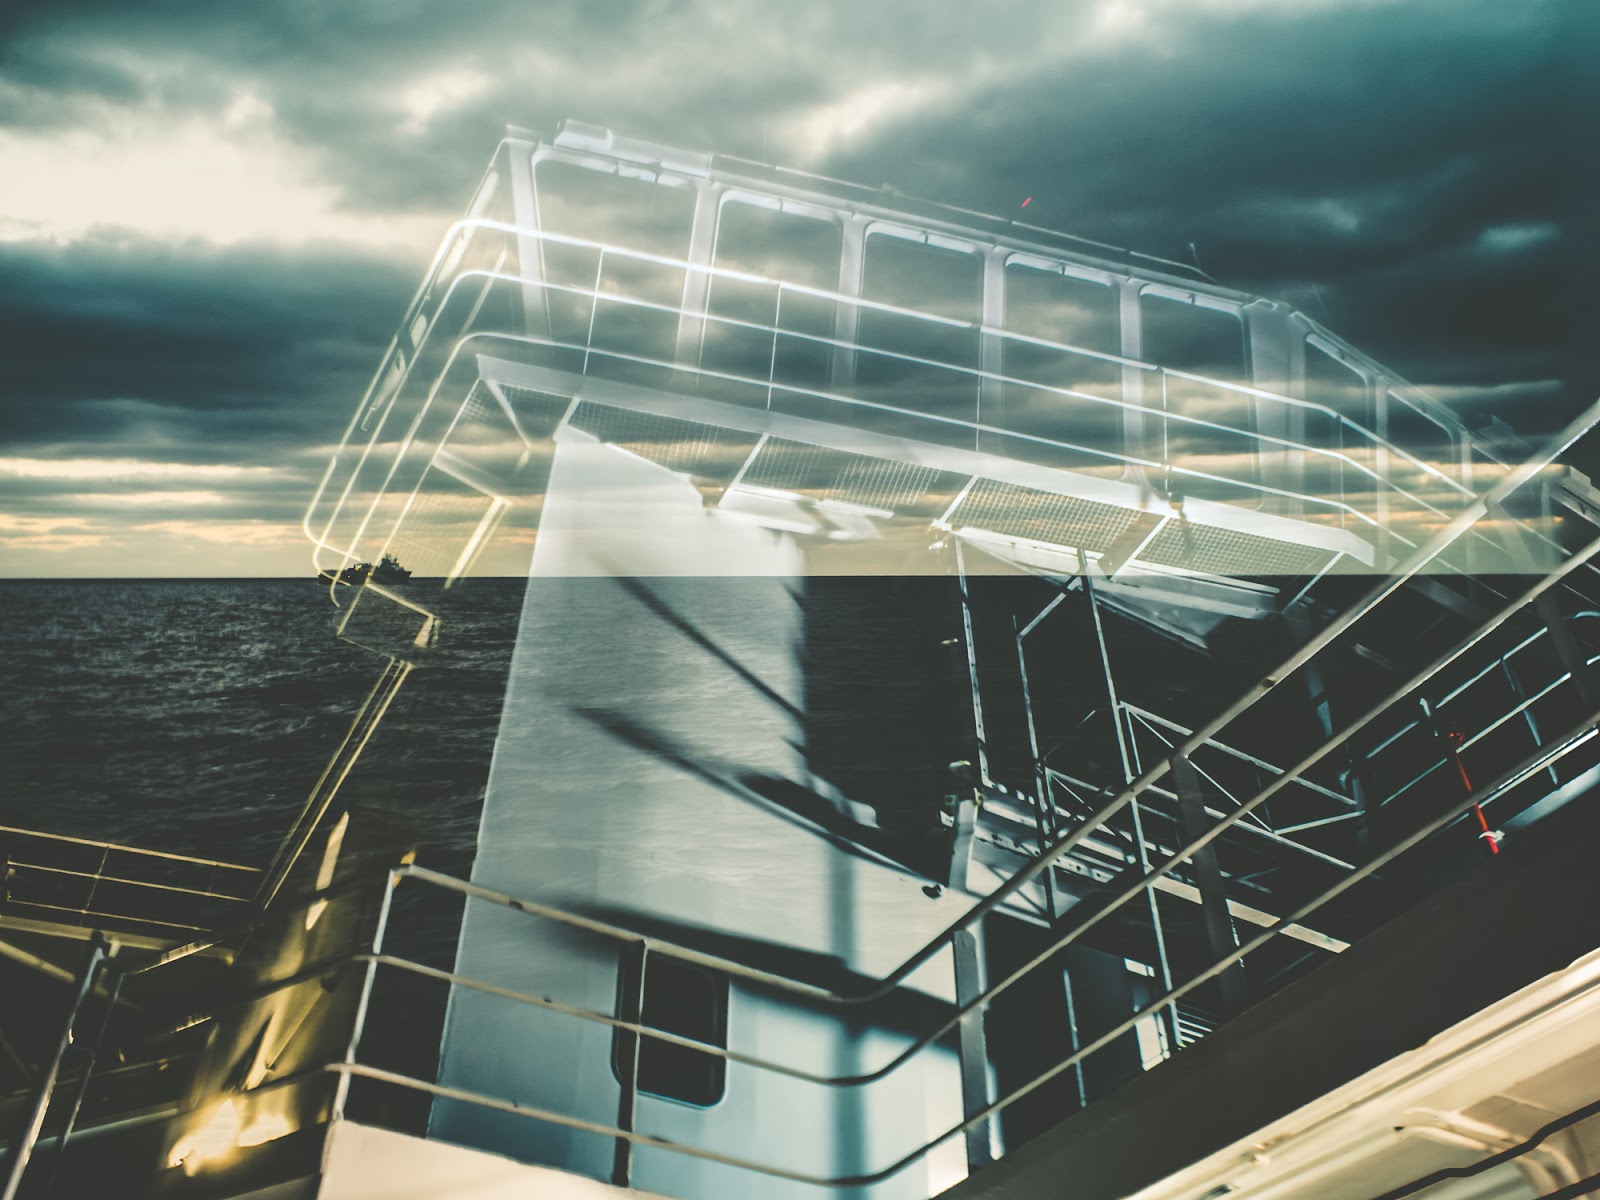
I wrote about the Lightroom plugin "Enfuse" a while back and commended its ability to create very natural looking HDR photos. When you run the plugin it gives you a number of options for aligning the shots that comprise the HDR output. While reviewing the plugin I figured out if you turn the alignment options OFF then you can superimpose unrelated images onto each other while blending their exposures. The photo above was the first double exposure I created using this method, but at the time I was not impressed with the final output and did not include this feature in the original review. After getting the E.L.K. I revisited the plugin due to my new found interest for double exposures and after spending some additional time with it, I have some to the conclusion that this plugin is a great tool to create these types of photos. Really, the only limit is your imagination. The plugin takes only seconds to run and most of the material I have “enfused” together looks really good. Of course, I am biased on this account but below are some sample photos showing some multiple exposure photography made with the plugin that is similar to what you can achieve using the LOMO E.L.K.


With the photos above, my goal was to create interesting photos using the ship I am on and its environment. I tried to focus on picking two images that would blend well together and made sure that both were not too "busy". The above photos are nautical themed but you can apply this to any type of photography you can think of. In addition, just because you can combine your cats face with a photo of a race car doesn't mean that you should and can also use the plugin to compose very natural looking photographs like the example below.

Foreground
Background
"Enfused" Image
The photo of the drops was taken near the lens' close focus distance then standing in the same spot I manually de-focused from the glass and shifted the autofocus' attention to the staircase and shot the background through the glass. The benefit in doing this was that I was able to maintain a fast shutter speed but imitate the look of a wide depth of field. When I was shooting I did not know what the final outcome would be but after editing the enfused image to taste, I really like the look of the final photo. The last application for Enfuse that I have experimented with is adding stars to nighttime photographs. This is kind of hit or miss and as you can see the last photograph in the short series below does not look very natural. It gives the feel of something drifting through space, but I thought it would be fun to present something a little "out of this world" if you will... Anyone with a background in astrophotography would probably pick this out very quikly and question its validity.


I am sure there is a way to do all this in Photoshop, but I use Lightroom as my primary photo editor and it  is nice that Enfuse literally takes seconds to run. I highly recommend giving this plugin a shot especially if you are interested in HDR or creating a more non-conventional type of multiple exposure photograph. The download link can be found here and for a small donation you can unlock the full version of the plugin.  

2nd Curtain Flash


While doing some research on strobism, I came across an article describing 2nd curtain flash. As per usual, it took me a long minute to finally understand how this worked, but when the theory sunk in I realized what an awesome tool this could be. Essentially 2nd curtain flash sets your camera to fire the flash right before the shutter closes when taking a photo. If your shutter is set to a very fast speed (say 1/2000 seconds) then you will not be able to tell the difference between this type of photo and one taken with a regular fill or manual flash output. As the shutter speed decreases however (say 1/10-60 seconds), you begin to capture two exposures in one photograph. The first exposure occurs during the time your shutter is open and the ambient light is recorded on your sensor. The second occurs when the flash fires right before the shuter closes. For exampe, in the photo above, I set my EM5 to Live Time mode, secured my camera to the ships wall and began the exposure by pressing the shutter button. During this time I was standing (barely) outside the fisheye's field of view and only exposed for the ship/background. After about 41 seconds I quickly stepped in front of the camera and pressed the shutter again. This fired the flash, lit me, and ended the exposure immediately afterwards. This is probably the most complicated method out of the three, and I was really surprised at the resultant photo.

Conclusions


First off, I need to thank Greggo for gifting me the Lomography E.L.K.!!! It opened up a whole new field of photography for me and I am sure he will do wonders with it as well. Even before either of us were interested in writing with light his creativity always amazed me. You should check out his work on Flickr =) As for multiple exposure photography using the ELK... I think there is A LOT of trial and error involved and I would say my "success rate" is probably 5-10% so far. I think the biggest thing here is to practice a whole bunch and be careful to not photograph a lot of busy subjects. When I did this the resultant photos were cluttered and it was hard to pinpoint what the subject was supposed to be. You can use Enfuse to achieve results that mirror the E.L.K, but it is most definitely not as fun as actually accomplishing a double exposure in camera. The plug in is great though and I have spent a lot of time in Lightroom the past couple of days superimposing images onto one another. 2nd curtain flash is something that I will practice more of when I get home. It is hard to accomplish anything using this method offshore because I have no speedlight, no tripod and if I am taking photos at night am usually alone. I have been thinking of a million ways to apply this technique however, and can't wait to apply it to my photography once I get on shore. I hope that you enjoyed at least a few of these photo and as always, welcome critiques and thoughts on what you see here.

Sam D.

If you live in, or are traveling to Florida and would like to schedule a photo-shoot, I am currently offering portrait services in and around Central Fl. Check out more of my work at www.samgoldphotography.com
 
© 2012. Design by Main-Blogger - Blogger Template and Blogging Stuff