Showing posts with label birds. Show all posts

May 14, 2014

17mm
Earlier this week my partner and I visited a small zoo in the heart of Miami named Jungle Island. We both love wildlife and our day-date also presented the opportunity to test out my newly acquired Olympus MZD 17mm f/1.8. I also took the MZD 45mm f/1.8, MZD 40-150mm zoom and Samyang's 7.5mm fisheye lens. I ended up not using the fisheye, but all this and a few accessories easily fit into the small messenger bag I brought with me. The photos below are labeled according to the lens I used for comparison and some of my favorite came from the 17mm.

17mm
This lens provides the relatively wide field of view that I enjoy when using the 15mm body cap lens. However, it is razor sharp even when shot wide open and produces some beautiful bokeh. It is also small, auto-focus is blazing fast when coupled to the EM5, and the cherry on top is being able to easily switch to manual mode using the lens itself. Manual focus became important when photographing birds through their cages as the lens usually auto-focused on the enclosure. After auto-focusing I would enter magnification mode on the EM5 and manually focus on what I wanted to... usually the birds' eye =)  


17mm
When there was no cage to obstruct the subject, I was surprised at the EM5 and 17mm's ability to lock focus on my subject's eyes, even when it was moving. The 17mm has been around for a while and there are plenty of articles out there detailing its pros and cons (see here, here, here, and here). I think the 17mm, 45mm and zoom were a perfect trio for the zoo and I highly recommend Olympus' fast wide angle prime! With that, I will leave you with some of the images from Jungle Island =)

Sam D. 

17mm
17mm
45mm
45mm

45mm
17mm

17mm
17mm
17mm
45mm
45mm
17mm
17mm
17mm
45mm
45mm
40-150mm
17mm
17mm
17mm
17mm
45mm
45mm
45mm
45mm
40-150 mm
45mm
17mm
40-150mm
45mm
40-150mm
17mm
17mm
17mm

November 10, 2013

Catch of the day: Key line
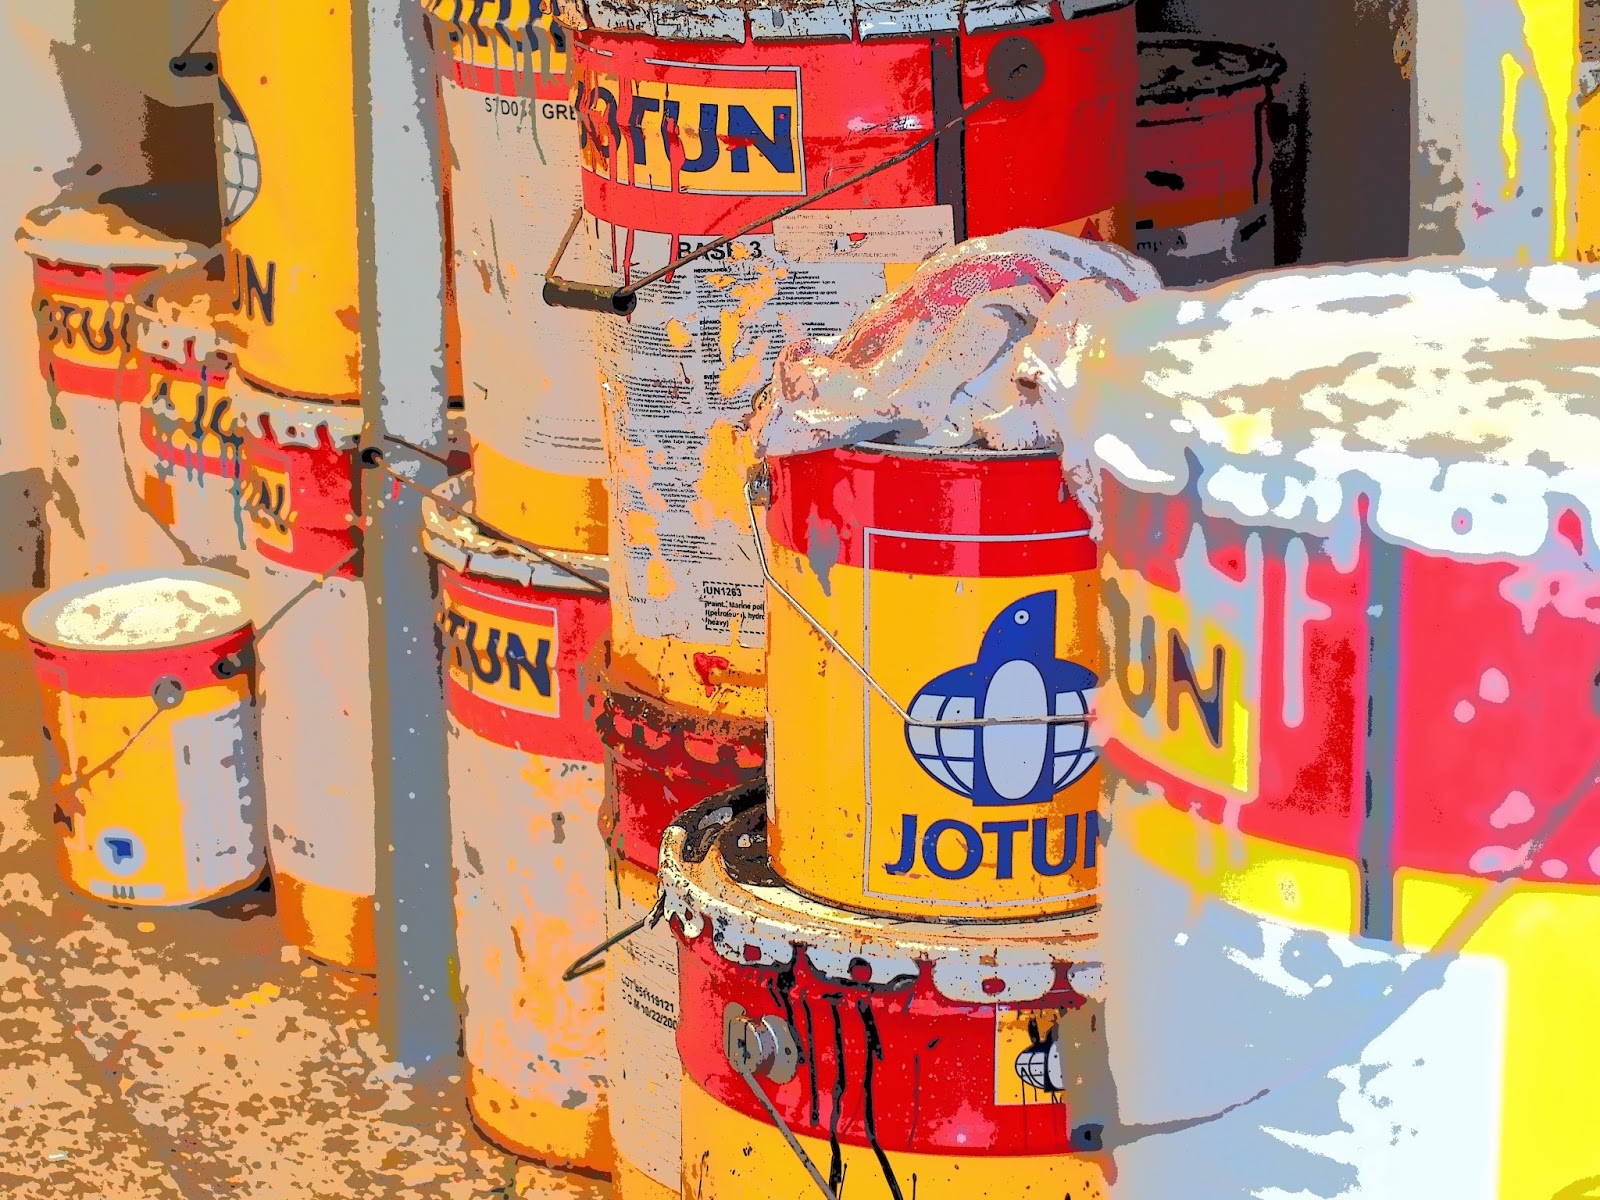
I have been fearing the key line filter since the beginning of this project and this morning... I finally pulled it out of my cup! I was afraid because it alters your photos to the point where they do not look like photos anymore, but rather a painting or comic/cartoon. My initial goal was to try and "hide" the fact that I was shooting in key line by photographing very detailed objects, but after apx. 5 minutes of experimentation I realized that there was no point and I better just embrace it for all its weird glory. I am glad I did too! I had a blast this morning! Shooting in this mode was like being transported to into different world.. kind of like the movie "What dreams may come", but a lot less depressing in the end... or Roger Rabbit. I honestly did not think I was going to enjoy this but I will no doubt use this again on very special occasions. Here are a few of my favorites from this morning's session:

All empoyees, 50mm, f/2.8, 1/180, iso 200
Nothing but net, 62mm, f/4.5, 1/4000, iso 640
Jotun 50mm, f/4, 1/90, iso 500 
Chemical closet 15mm, f/8, 1/250, iso 200
Eleven, 40mm, f/8, 1/350, iso 640
On some instances this filter preserves JUST enough detail and it makes it very easy to isolate your subject from its background or hone in on texture. HOWEVER, there were some subjects which I found to be problematic such as birds and clouds. In order to ensure focus I had to be in magnify mode which showed more detail, but then when I captured the photo it disappeared and I was left wishing for more. This mode would be absolutely perfect if you could fine tune the degree of lines preserved in the final Jpeg. Nevertheless, I am glad I ended up embracing this filter I think it made some seemingly boring subjects come to life. The moon is awesome tonight and unobstructed by clouds so I chose my next filter early and have already photographed it with some success. Come back and see what else comes from this mode (which I am keeping a secret lol)! Thanks for dropping by =)

Sam D

More sample photos


November 07, 2013

Catch of the day: Pinhole
This morning I randomly picked the "pinhole" filter from my cup o fun and today's shooting session was awesome! It is another "dark" filter and on top of an increase in contrast it adds a pretty significant vignette around your image. The vignette is noticeable, but does not extend very far into the frame and if you were to actually use a pinhole lens you would notice a more drastic effect.  It worked like a charm with all of my lenses but the effect looked especially nice when I introduced a shallow depth of field. Today was nice and rainy and I must say, perfect for the occasion.

Gray, 15mm, f/8, 1/500, iso 200
Chipped, 50mm, f/4, 1/90, iso 200
Fire station, 150 mm, f/5.6, 1/125, iso320
Ventilation, 50mm, f/5.6, 1/90, iso 1000
Seeing double, 15mm, f/8, 1/45, iso 200
As you can see, this filter introduced a darkness into my photos that is pretty difficult to replicate in lightroom. I found that the vignette stood out more when I used my kit flash (second and fifth photo) and I really liked the overall look of this combination. Next time its raining in your area, strap on your EM5 and a weather sealed lens and take this filter out for a ride! I dont think you will be disappointed =) Thanks for visiting! I am officially half way done with the challenge and ALMOST home! Come back tomorrow to see what I have to work with next!

Sam D.

More sample photos:


© 2012. Design by Main-Blogger - Blogger Template and Blogging Stuff