Showing posts with label art filter challenge. Show all posts

November 16, 2013


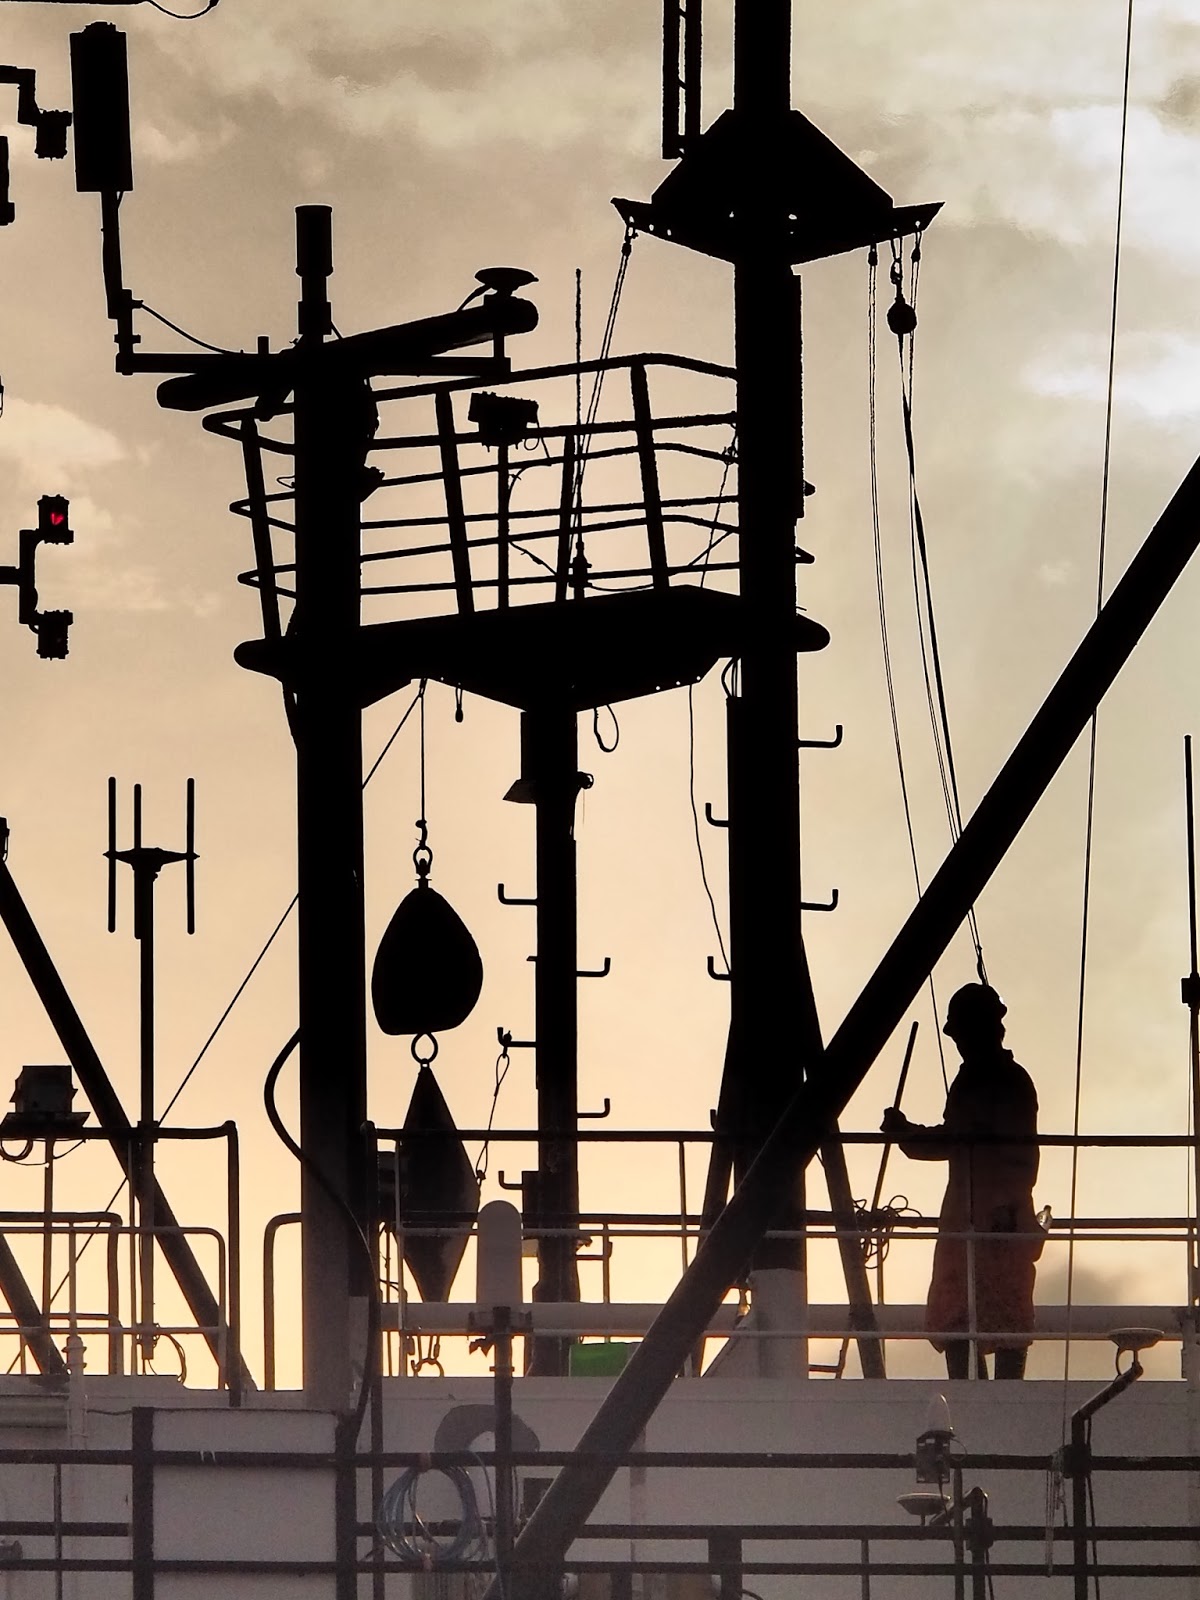
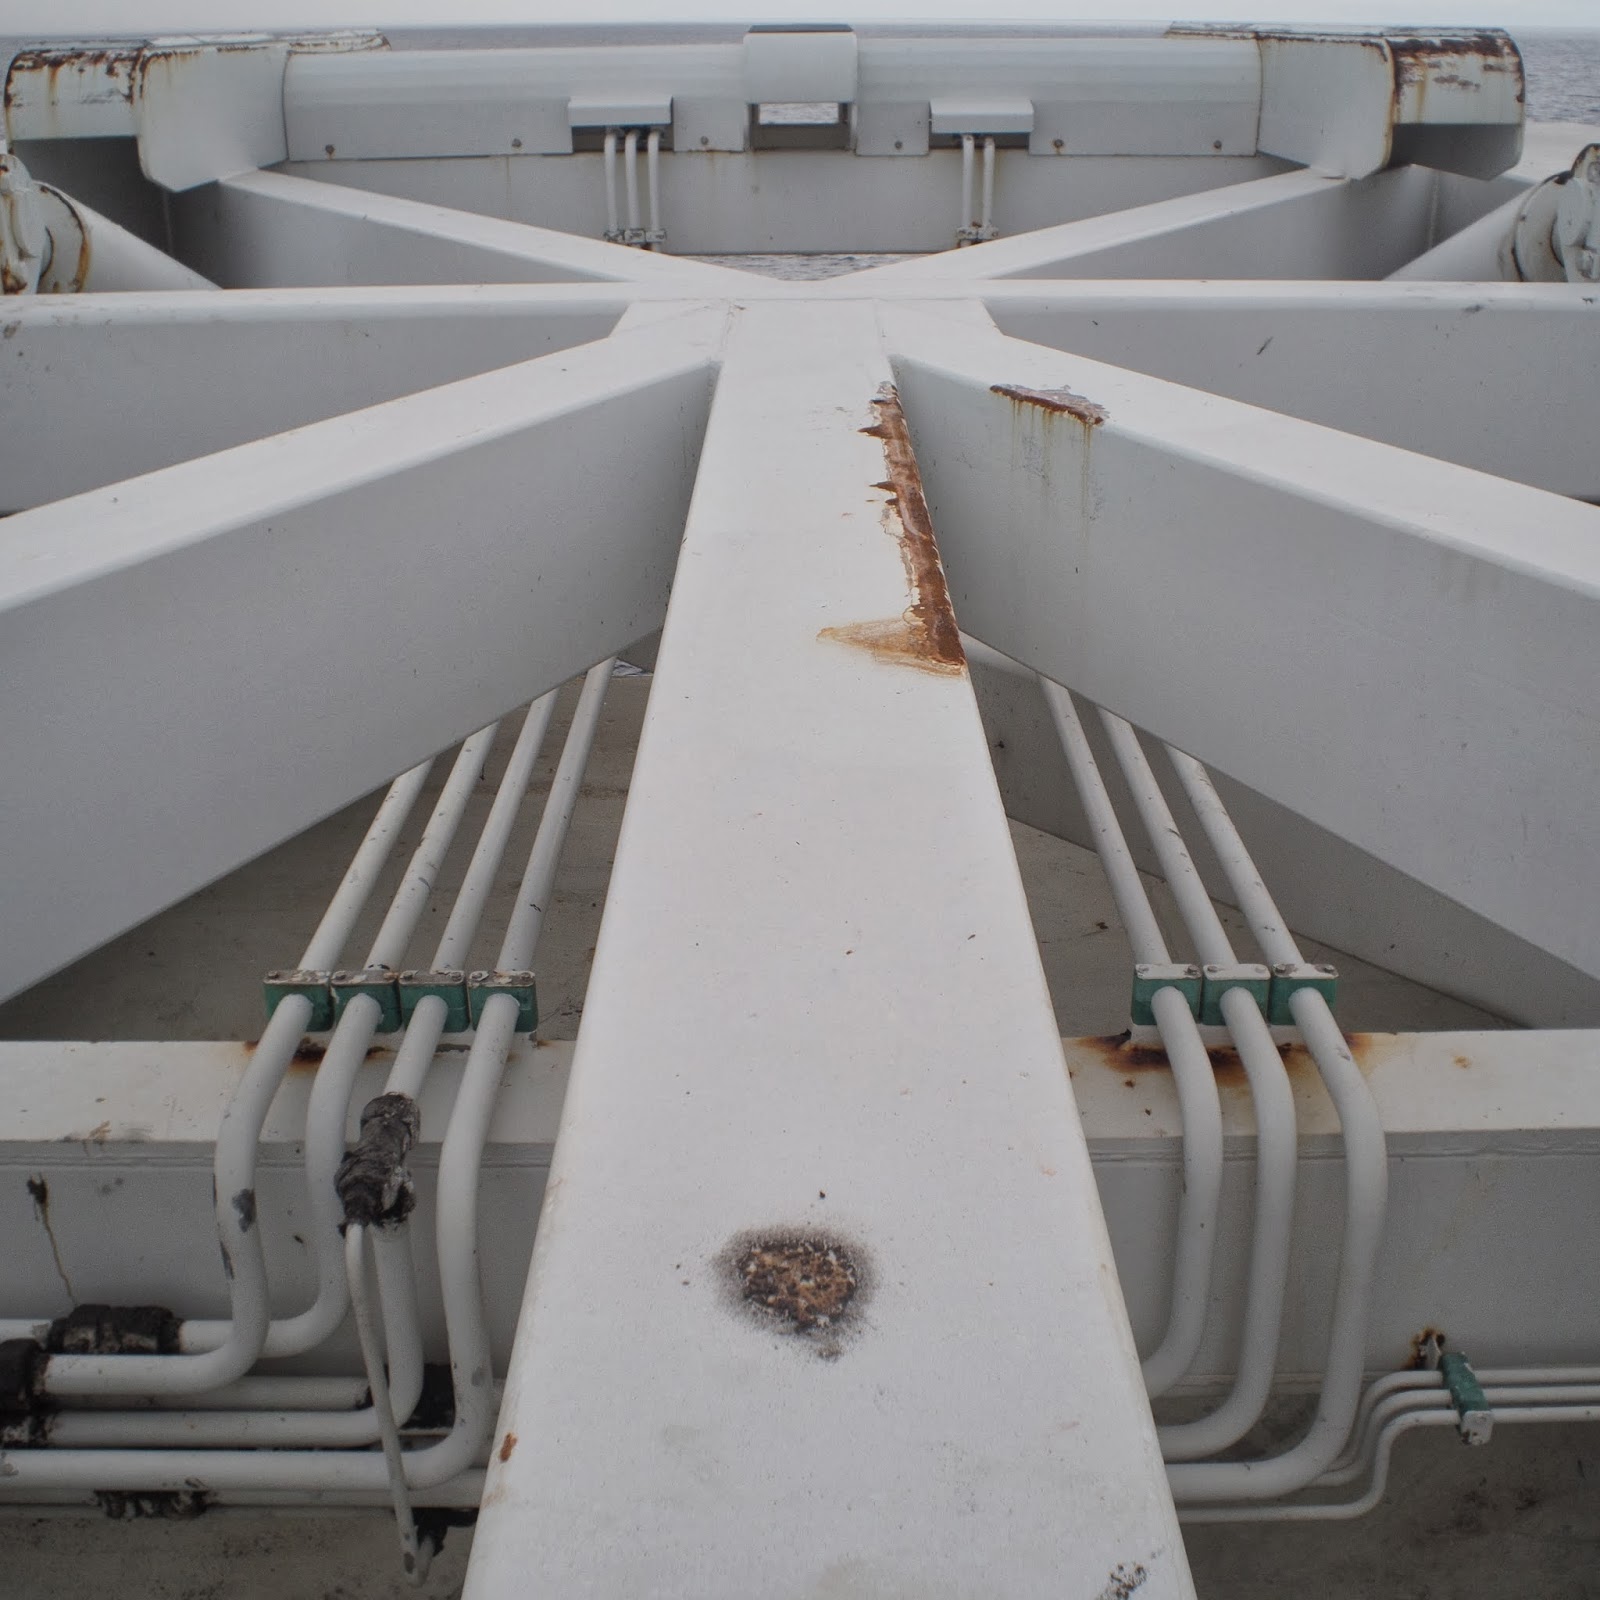
I came across the BCLmacro during the last few days of the Olympus Art Filter Challenge and composing the last three posts on this blog have distracted me from following up on it. Isolation and a bottleneck in subject matter on board the vessel I am on was the initiator of this project which you can read about here. In the aforementioned post I talk of a personal goal to be revealed once the challenge was complete. Each day after shooting and uploading 4-5 of my keepers to Flickr, I submitted them to Ming Thein's reader pool. The ultimate "test" was to have my photos admitted. Ming is quite critical (which is a good thing) and judges the photos submitted based on light, subject, composition and idea; anything with a 2.5/4 rating or higher is let in. I ended up submitting 54 photos and of those... three made it:

Dramatic tone

Light tone
Cross process
I fell a little behind the average 10:1 rejection rate but considering these had absolutely no out of camera processing done to them, I was thrilled when I saw these make it in!!! During the challenge it was very difficult for me to find subjects that would bring out the best of each of the filters. I also felt that they hindered me in a way because I felt there was strong subject matter and good light but the filter compromised the shot. Luckily I was shooting RAW+JPEG and below are examples which have processed to my liking. One thing I learned throughout the duration of this challenge was that I really enjoy the post processing part of my workflow. Skipping it was like being sent to bed without dinner...


I think most of all I missed processing in black and white! The only B&W filter on the EM5 is grainy film and one day certainly did not cut it!!! Examples of photographs rendered using the art filters can be found here: Soft FocusPop ArtDramatic ToneLight ToneDioramaPinholeCross ProcessKey LineGentle SepiaGrainy FilmPale and Light Color. My favorites were "pop art" and "grainy film" and I was not very fond of the "soft focus" and "gentle sepia" modes. Overall I think I got better at a couple of things including using my kit flash (I forced myself to leave it on the camera and use it everyday), composing, especially when it came to horizons, and exposure. I still think that I rely heavily on post processing but I think that processing is necessary for a photographer to develop his or her own style. I really learned a lot from doing this and it did help the time pass by forcing me to partake in photography on a daily basis!! Thanks for dropping by, as always hope you enjoyed a couple of these photos =)

Sam D


November 13, 2013

Catch of the day: Pale & light color
I just wrapped up the final day of my Olympus Art Filter Challenge working in pale & light color mode! This filter is similar to the "soft focus" and "light tone" modes in that it de-saturates colors and tones down contrast but you maintain sharpness. It was fun photographing things up close again with my modified body cap lens but I also used my 50mm legacy. In both cases, photos in this mode came out extra "dreamy" and vibrant colors were converted to their pastel relatives. This is another filter that doesn't really fit my style, but I think the muted photos work especially since today it was raining and wet outside. It seems the weather has been very cooperative this past week and a half and has helped to bring out the best of each of the filters! 


Sludge, 50mm, f/2.8, 1/125, iso 200
Four stories, 50mm f/5.6, 1/30 iso 200
Barrel of monkeys, 15mm (BCL MACRO), f//8, 1/250, iso 2500
Odd beauty, 15mm (BCL MACRO) f/8, 1/60, iso 640
Ripple, 50mm f/5.6, 1/250, iso 2000
The pale and light color was fun to experiment with, but the in camera processing was not really to my liking and I will probably not use this filter again. However, forcing myself to experiment with these art filters was fun and since I had the intention of only posting SOOC Jpegs the challenge helped me focus more on nailing exposure and composition in camera rather than relying on post processing. I recommend the challenge... or any photographic challenge really, I plan to try Slotshots 1/2 sec challenge once I get back on land and have some new subject matter.  It promoted growth and helps you stay creative =) This concludes my OAFC, but sometime in the next couple of days I will be posting a follow up with my favorites from each filter as well as photos that I felt worked better when I processed them to taste using LR4. I hope you enjoyed any part of this series and thank you very much if you returned to see examples of each of the different filters. I am so very excited to take the things I have learned to create better photos and an even more excited to get back into Lightroom and start processing again!!!  =)

Sam D.

More sample photos:


November 11, 2013

Catch of the day: Grainy film
This morning was dedicated to the "grainy film" filter on my EM5 and I knew I was going to like this mode before I even started out with it. I suppose this is another film emulator and the filter produces overall high contrast black and white images with grain added into the mix. After my first couple test shots, I was immediately smitten and this is probably my favorite filter out of the bunch. I guess it is because it falls in line with my style of photography. All the photos below were taken with my new body cap macro. I switched out this lens for my 50mm f/1.8 for about 10 minutes today, but I couldn't help but switch back because I was having a lot of fun taking close up shots. I will be writing instructions and a "review" of this hack (probably 2 parts) in the next couple of days so stay tuned if interested.

Resistance, 15mm, f/8, 1/30, iso 200
Goodyear, 15mm, f/8, 1/750, iso 3200
Anisoptera, 15mm, f/8, 1/250, iso 200
WW, 15mm f/8, 1/500, iso 1250
Catch fire, 15mm, f/8, 1/30, iso 200
This filter adds grain to photos so the out of focus regions seem a bit rough, but the bokeh in RAW versions is surprisingly smooth. Also, this is more of a property of the makeshift lens I was using, but focusing in this mode was a bit difficult. I have estimated the DOF of the body cap macro to be around 1mm and in grainy black and white it was hard to pinpoint where exactly that mm lies. I took the opportunity to photograph the dead dragonflies I encountered for my upcoming "review" but for this I had to switch out of grainy film mode in order to ensure I actually achieved focus where I wanted it. However even through the "difficulties" I really enjoyed using this filter and was very happy with the results!!! Tomorrow is the final day of the challenge and I will be in "pale and light color" mode =) I am so excited that this project is almost complete!!! Thanks for dropping by today and come back tomorrow for the "grand finale and probably more BCL macro!!!

Sam D.

More sample photos:


Catch of the day: Gentle sepia
Last night I randomly chose the gentle sepia art filter and went out to photograph the moon. I came back with an OK photo, but I have no doubt that processing a RAW file would have given a better result. I then went back to work and waited for my morning photography session. When it arrived and I was taking a photo of the sunrise, I noticed that my body cap lens was extra blurry on the edges and I have absolutely no idea why… I thought it was an artifact of the filter and that gentle sepia was like diorama and “blurred the edges”, but I switched to natural mode and was still experiencing the problem. This is off topic, but I decided that since the BCL is fairly cheap and couldn’t be TOO complicated internally that I was going to take it apart and see if anything was askew inside that I could fix. After disassembling and reassembling, the problem did not resolve itself. So… I decided to experiment and turn the internal lens element around to try and mimic what can be done with a lens reversal adapter to make a cheap macro.. AND IT WORKED! I have a “body cap macro lens” LOL!!  The “catch of the day” shot above and “Zuiko” below are examples. I had to do some customization and there is a HEAVY vignette, but the results from testing have been pretty good... On one hand it SUCKS because my shortest focal length for landscapes is now 80mm o_O but on the other I am stoked to put this bad boy in action and see what kind of up close shots I can get. The working distance is about 7mm with a DOF of around 1mm. I photographed a little over 50mm on my ruler so this is far from a true macro (I THINK this comes out to apx. 1:3 reproduction ratio), but I was impressed nonetheless... This will be the first thing I write about after the OAFC is done. Since this post is supposed to be about sepia, all I am going to say is that shooting in this mode is VERY FAR from my style and I would rather just shoot in traditional black and white. Here are some results:

November moon, 150mm, f/5.6, 1/350, iso 400
Wagon wheels, 50mm, f/8, 1/250, iso 200
Pollution, 50mm, f/5.6, 1/3000, iso 200
Alfie 40mm, f/8, 1/250, iso 200
Zuiko, 15mm, f/8, 1/10, iso 3200

I am running all sorts of late and want to go test out my body cap macro, so no more on sepia... but I hope followers of the OAFC enjoyed the photos today even if they weren't MY favorite! Come back tomorrow to see what else is in store and for more examples of the body cap macro! =)

Sam D.

November 10, 2013

Catch of the day: Key line
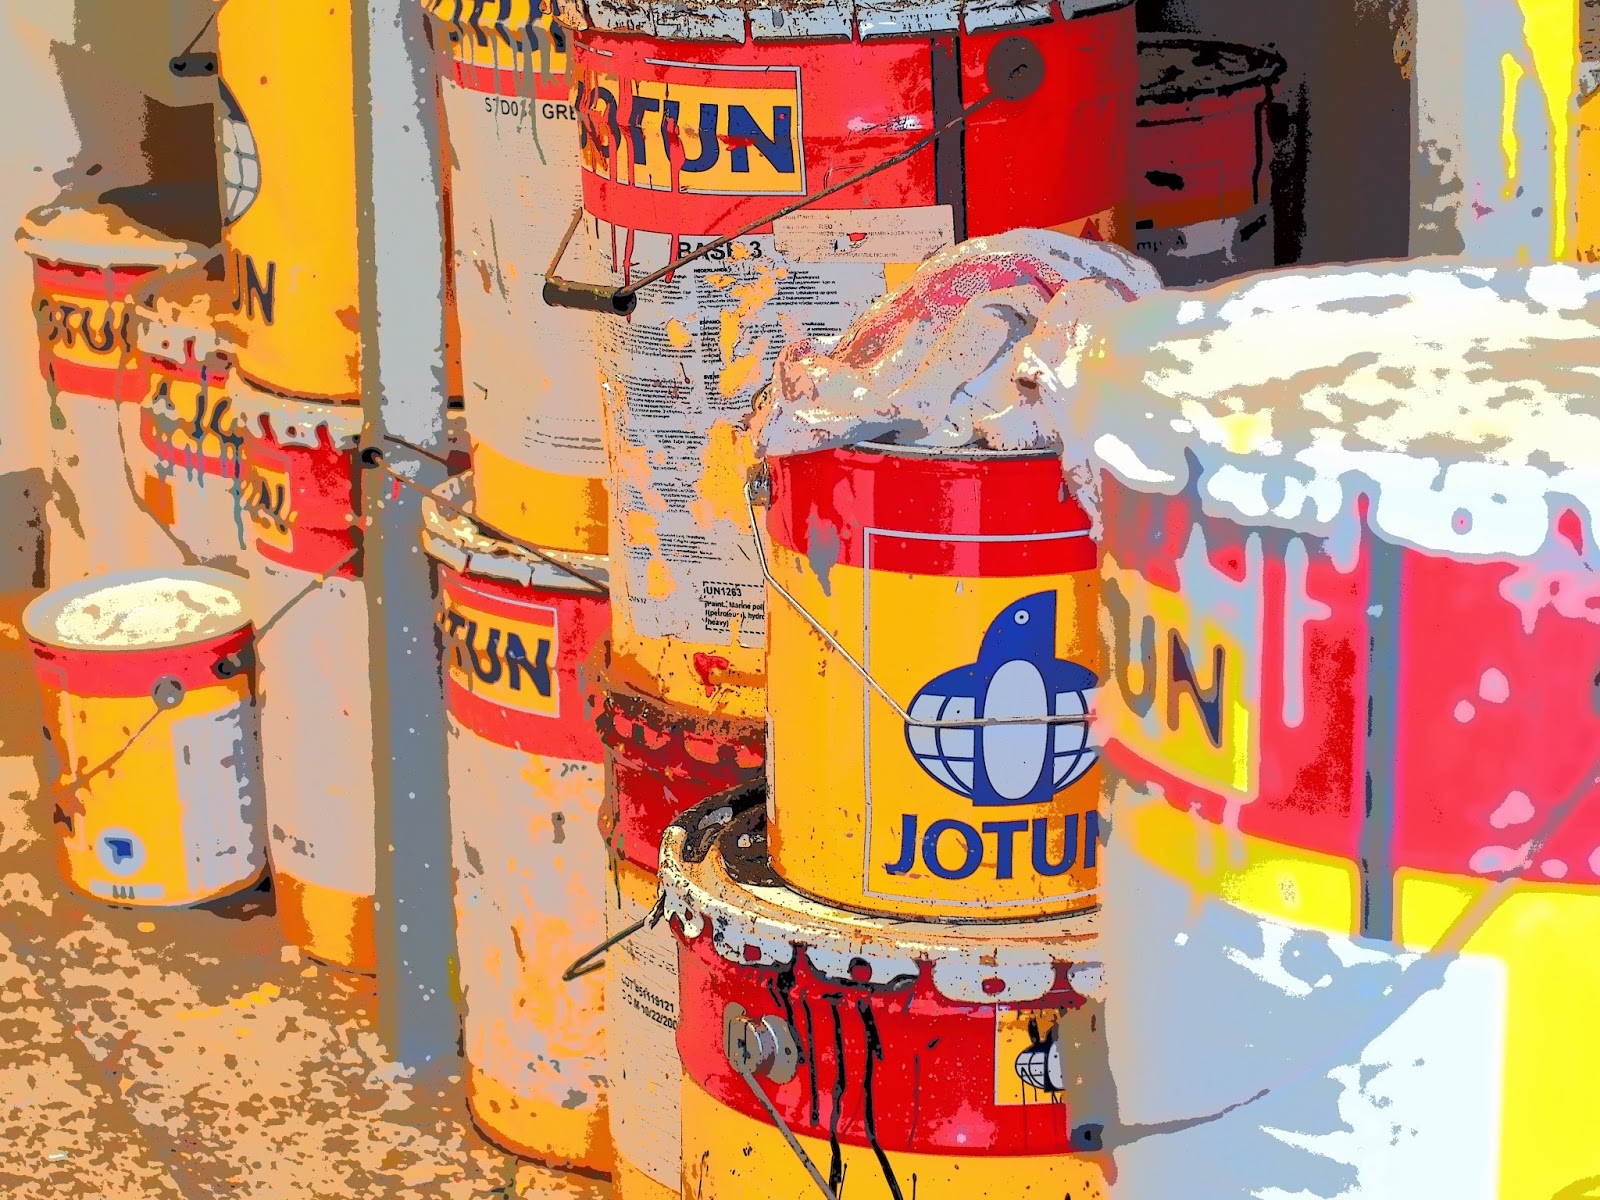
I have been fearing the key line filter since the beginning of this project and this morning... I finally pulled it out of my cup! I was afraid because it alters your photos to the point where they do not look like photos anymore, but rather a painting or comic/cartoon. My initial goal was to try and "hide" the fact that I was shooting in key line by photographing very detailed objects, but after apx. 5 minutes of experimentation I realized that there was no point and I better just embrace it for all its weird glory. I am glad I did too! I had a blast this morning! Shooting in this mode was like being transported to into different world.. kind of like the movie "What dreams may come", but a lot less depressing in the end... or Roger Rabbit. I honestly did not think I was going to enjoy this but I will no doubt use this again on very special occasions. Here are a few of my favorites from this morning's session:

All empoyees, 50mm, f/2.8, 1/180, iso 200
Nothing but net, 62mm, f/4.5, 1/4000, iso 640
Jotun 50mm, f/4, 1/90, iso 500 
Chemical closet 15mm, f/8, 1/250, iso 200
Eleven, 40mm, f/8, 1/350, iso 640
On some instances this filter preserves JUST enough detail and it makes it very easy to isolate your subject from its background or hone in on texture. HOWEVER, there were some subjects which I found to be problematic such as birds and clouds. In order to ensure focus I had to be in magnify mode which showed more detail, but then when I captured the photo it disappeared and I was left wishing for more. This mode would be absolutely perfect if you could fine tune the degree of lines preserved in the final Jpeg. Nevertheless, I am glad I ended up embracing this filter I think it made some seemingly boring subjects come to life. The moon is awesome tonight and unobstructed by clouds so I chose my next filter early and have already photographed it with some success. Come back and see what else comes from this mode (which I am keeping a secret lol)! Thanks for dropping by =)

Sam D

More sample photos


November 09, 2013

Catch of the day: Cross process
This morning I randomly  chose the "cross process" filter on the EM5 which is another film emulator. According to the Lomography site cross processing in film occurs when you use chemicals designed for one type of film to develop another type. I believe this was discovered by accident, and results include drastic alterations to color and contrast. It was a great time experimenting with this mode and one tip to get the most out of this filter is to play with the white balance which results in different color casts. It was a bit difficult for me to obtain pleasing results but that is a matter of personal taste... I guess green isn't my color ; ) For a more refined approach you could always do this using split toning in Lightroom which gives you more control of what color your photo will turn out and still allows for that vintage feel. However there is no doubt in my mind that cross processing is using film would be the most fun method because the analog route introduces the element of surprise which is always great! Here are a couple shots showing of what to expect when "cross processing" using the EM5.

Duro, 40mm, f/4, 1/30, iso 800
Braids, 40mm, f/4, 1/125, iso 500
Sea link, 15mm, f/8, 1/60, iso 200
Bound, 40mm, f/8. 1/30, iso 200
Cross process, 15mm, f/8, 1/30, iso 200
This is not a filter I can see myself using very often for the simple reason that I would rather do this in Lightroom 4. ALSO, if you are lucky enough to have the EM1 the "Color Creator" is a sort of pseudo-cross processing which allows for more control over the color cast of images. What would be really cool is if you could use the color creator with the different art filters but I am not sure if this is a feature. In any case, thank you for dropping by!!!  The filters left are "grainy B&W film", "pale and light tone", "gentle sepia" and "key line"... Come back and see what great fun tomorrows filter will bring! I may choose it early since the moon is out and that might make for an interesting photo =)

Sam D.

More sample photos:


© 2012. Design by Main-Blogger - Blogger Template and Blogging Stuff